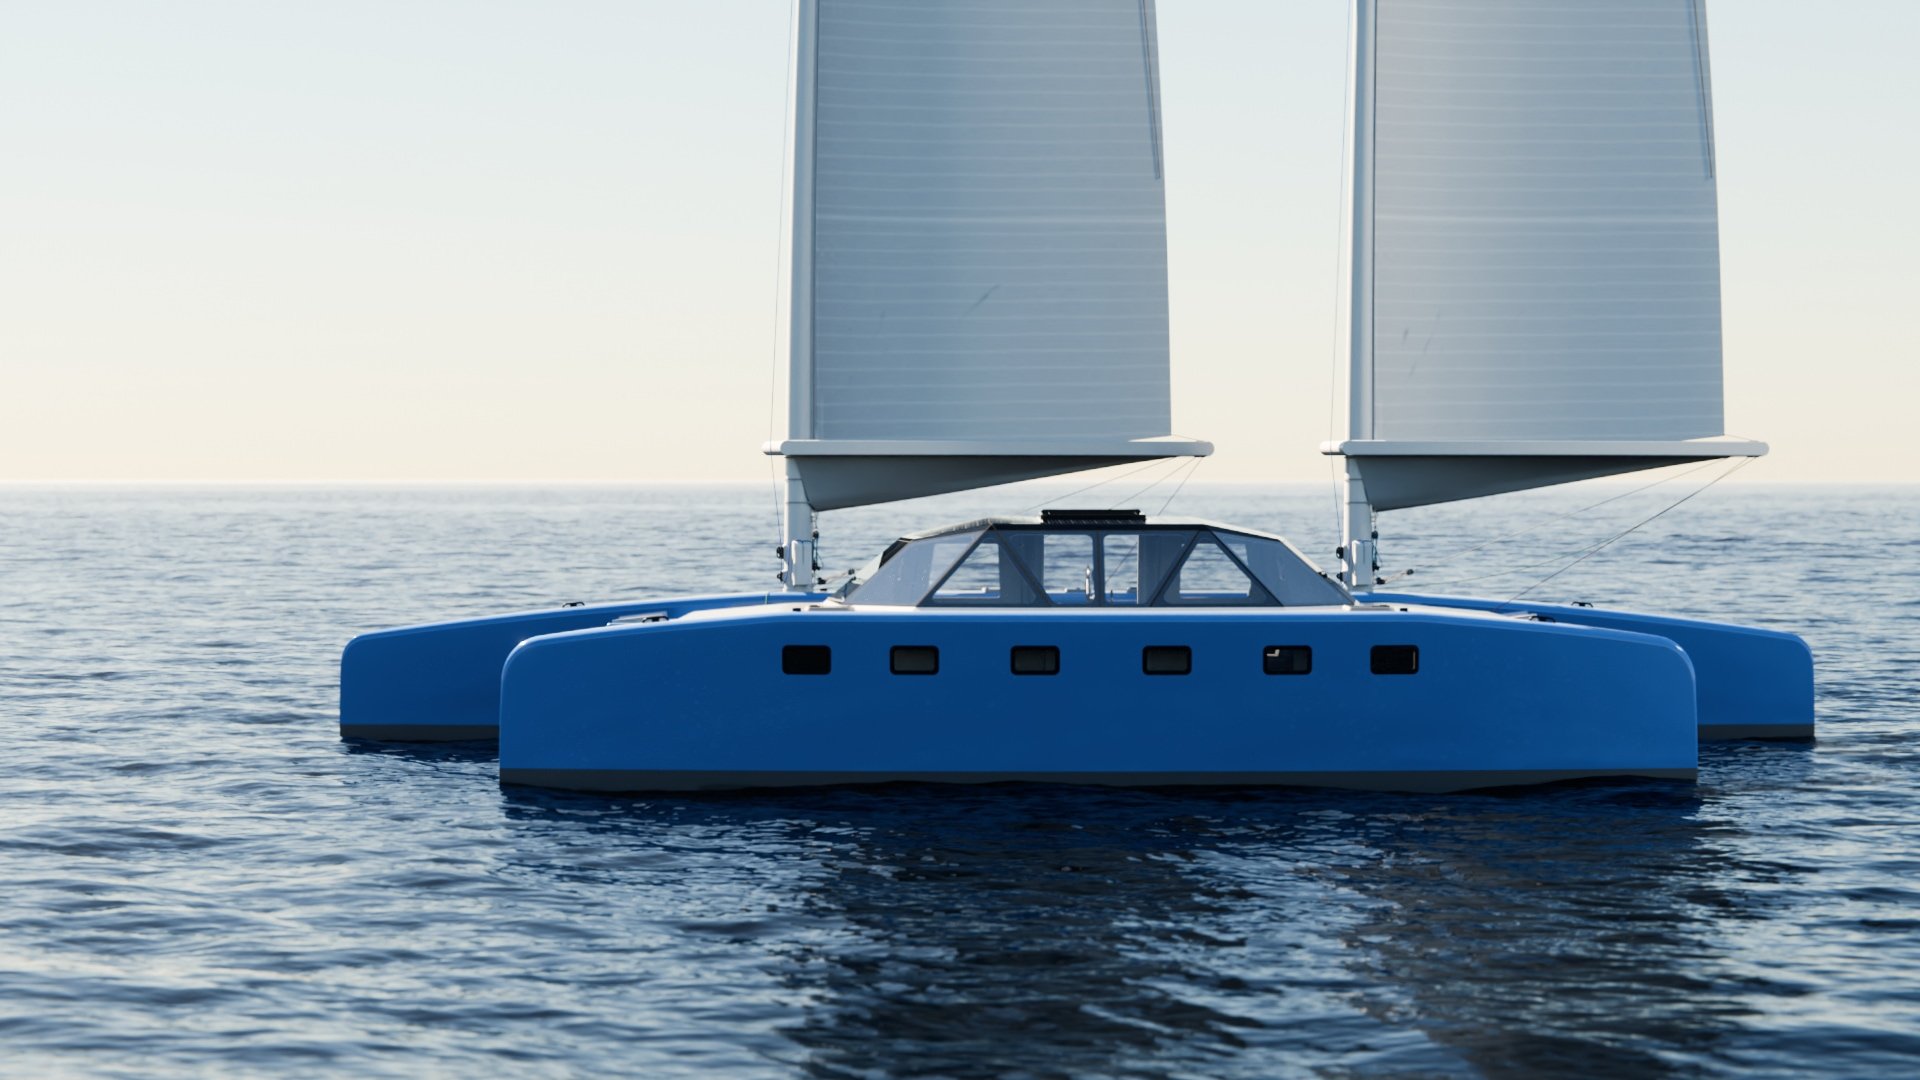
The “Bucket List” Prototype Building Blog

FEBRUARY 2018

The video shows a model harryproa being capsized and then re righted without assistance. The requirements for this are:

The lee hull has a false floor that is slightly higher than the waterline. ie when the hull is full of water, there must be enough buoyancy to cause the water to drain out. This buoyancy must be less than the weight of the beams, crew and windward hull. The false floor provides this. It ​may not need to be full length. There are slots in the hull at false floor level​ to flood and drain the hull​. The larger the slots, the quicker the righting.

The boat capsizes and the buoyant​, sealed​ mast stop​s​ it at 90 degrees. The lee hull fills with water and is pushed under by the windward hull and beams. The buoyancy ​of the mast causes the windward hull and hence the centre of gravity to move away from the centre of buoyancy​ ​​until it’s weight rights the boat, the water drains out ​of the lee hull ​and you are sailing again.

A schooner rig would improve fore and aft stability which is poor with the single mast, hence my hands hovering over, but not touching the model​. The further to leeward the mast is, the quicker the righting. The model uses open ended hulls for flooding and draining instead of slots.


JANUARY 2018

Bucket List Foiling

Only under motor and without the rig and tramp, but a step in the right direction. One of those things that was a big deal before it happened, a bit of a non event afterwards.

Took about 90 minutes to carry the components across to the beach and assemble it, much of which was playing with temporary ratchet straps to hold it all together. Then motored it round to the canal and fitted the rudders. Locked the front one and steered the aft one with temporary strings. The hulls lifted at ~4 knots of boat speed and lack of hands to steer and control the outboard limited top speed to 7 knots. Foils are 40 grit sanded and still need work on the leading and trailing edges. ​

Back in the garage to beef up the beam sockets, connect the steering, install the rig and clean up some of the shortcuts.

DECEMBER 2017

11m x 6m. 110 kgs, plus 50 kgs of rudders and 100 of rig, all components fit on my car roof. Assembling it has added a bunch of things to the “to do” list, but should still be ready to motor test (posibly without steering) by Xmas. Fun times!


NOVEMBER 2017

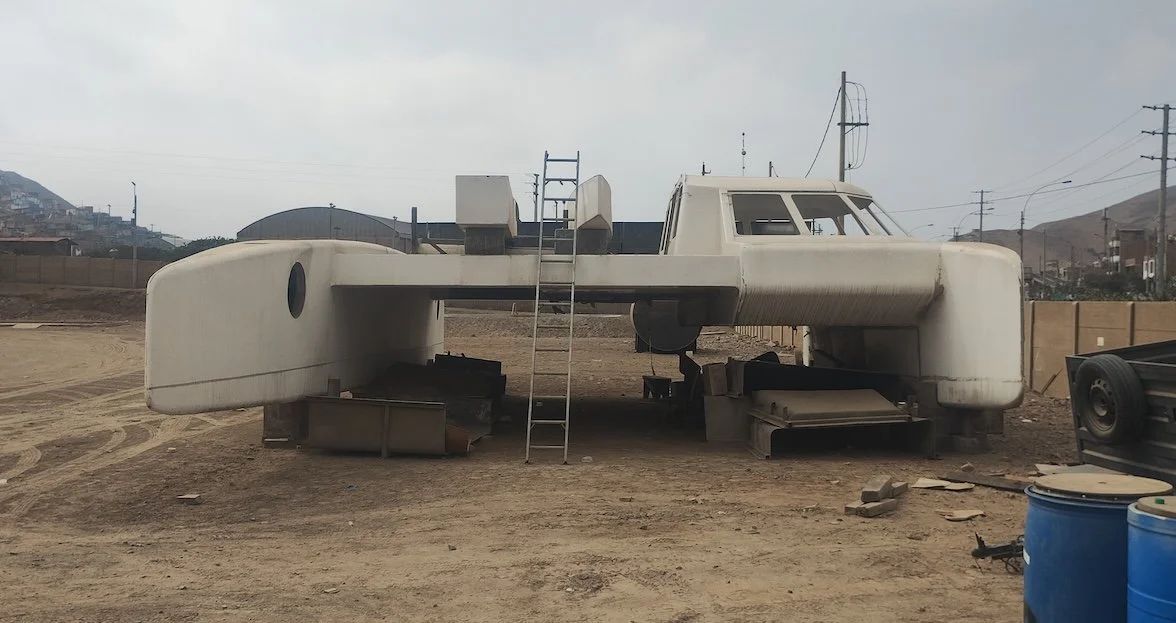
The lee hulls and joining beam. 11m long, each hull is 20 kgs, the beam 16, total 56. The old hull was 176 kgs so a major weight and windage saving, plus all the components for the boat are light enough for one person to carry and fit on a small box trailer and the car roof.
The carbon hoops are for the rudder housings, which are pretty much built, as are the foils, the wands and the cross beams and their mountings. Everything needs to be fitted together, then cleaned up, the minimum of which will be done before foiling tests behind a power boat and then under kite. The other main job is cutting down the windward hull, which is on for next week when I have access to the garage. Once the foils work, we splice the rigging lines, get the new sail and finish off the cleaning up.


NOVEMBER 2017

Bucket List nominated for an award!
Foiling Bucket List/Volvo Proa has been nominated for a Foiling Week award in the “Best New Project” section, sponsored by Persico Marine, the high end race boats builder in Italy.
Voting is open until the 16th November at www.foilingweek.com

Contestants are:
-Harryproa a new foiling proa by Rob Denney
-Laureano Marquinez Nahuel Wilson monohull foiler MW680F
-Pegasius Project by Sébastien Rogues
-@infinityperformanceyachts 56 by Farr Yacht Design
-Goodall Design viper foiler
-Barracuda Yacht Design @inigo toledo 110ft 75 kts foiling superyacht

Progress is being made on the conversion. The lee hulls and beam are ready for joining, the rudder mounts are in, the foils and rudders are made and the wand/foil/rudder linkage is sorted, but not yet installed, the steering system (combination of quadrant and tiller) is part built. Nothing is faired and there is still a lot to do, plus testing, breaking and fixing. And the rig.


OCTOBER 2017

After half a dozen sails with a 40% mainsail, it got too cold to play so BL sat on it’s anchor for a couple of months while I decided what to do next. The issues were:

i) Although there was some interest in chartering racing multis, there was none in either paying for 4 of them or running the business.
ii) The quality of the build is poor as a result of limited build time during my trips to Adelaide. In particular the leeward hull repair of a screw up with the mould dimensions and one of the beams which has the vacbag and resin absorber stuck inside it.
iii) A 12m x 8m boat drawing 100mm without (and with) a motor is a handful to maneuver solo in a breeze.
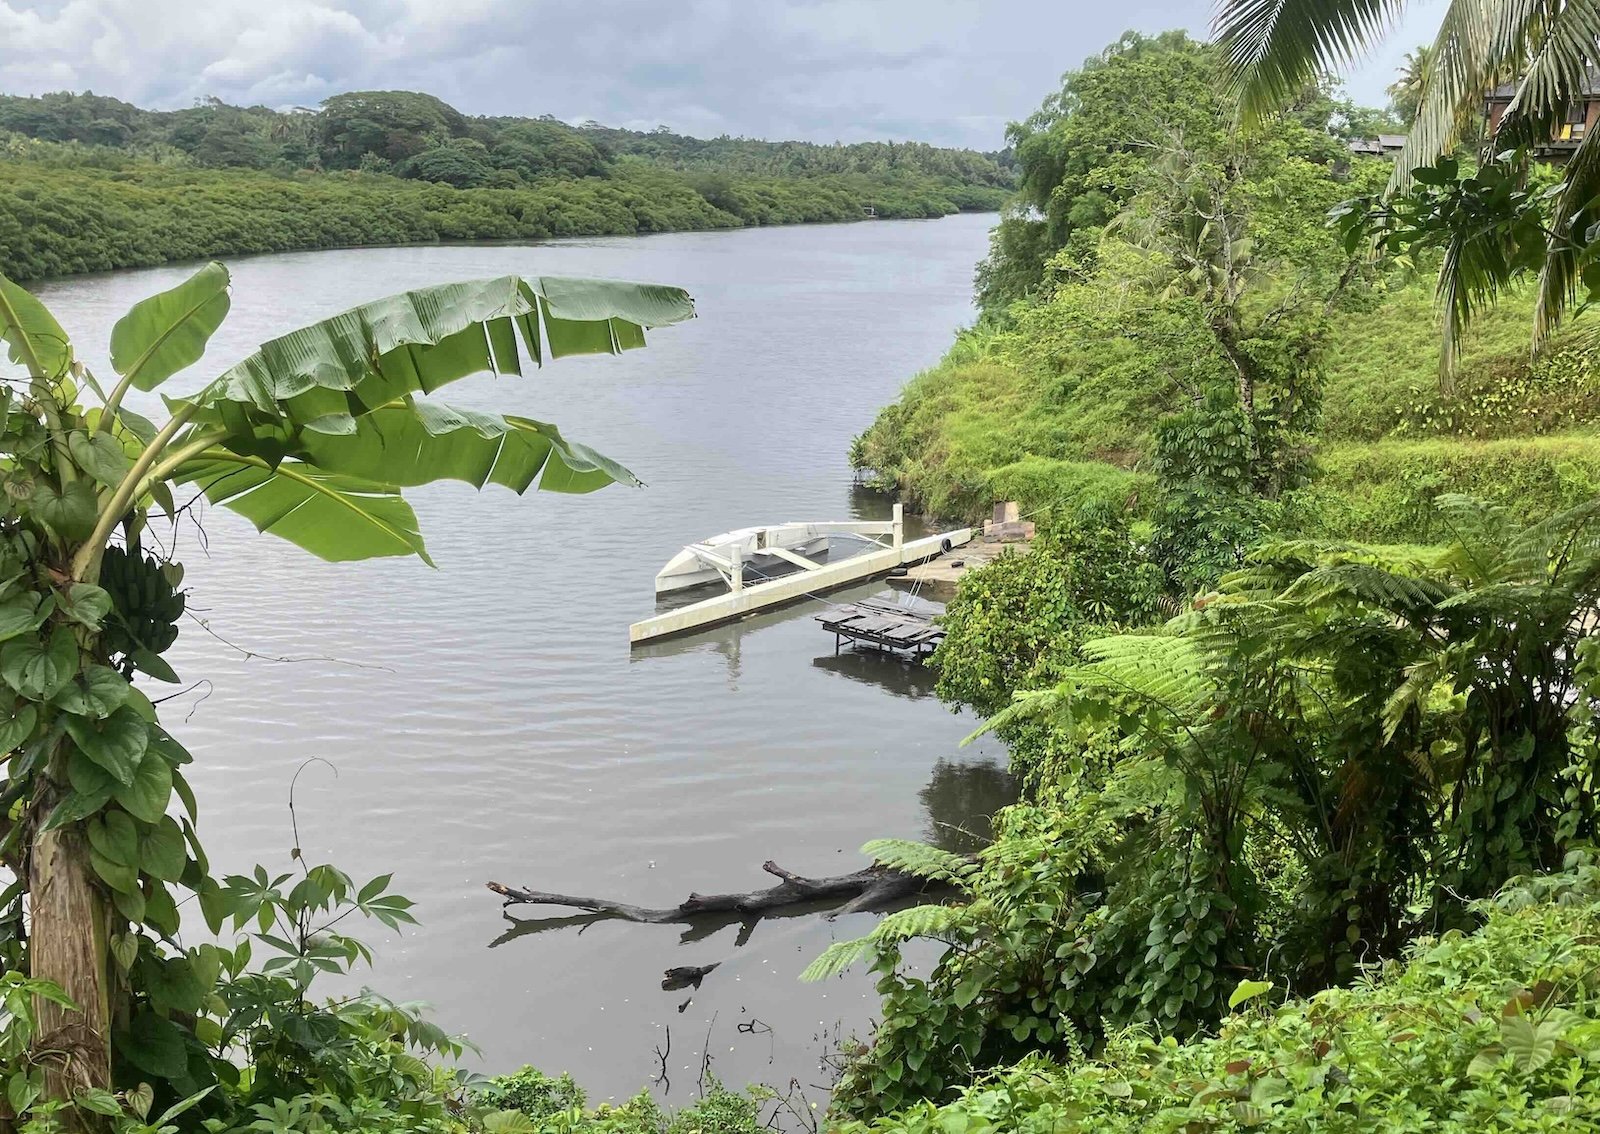
iv) Anchoring in a busy waterway is fraught. Every time the breeze was up, it was surrounded by kite boarders, most of whom were beginners. A powerboat cut the anchor warp one night, the boat was stopped by a couple of fishermen at 1 am just before it reached the open sea, next stop Chile. A fortnight later, it was impounded by the water police for being anchored in the same spot for over a week. The canal berth I had arranged for bad weather fell through.
v) I am not going to get time to sail it to regattas.

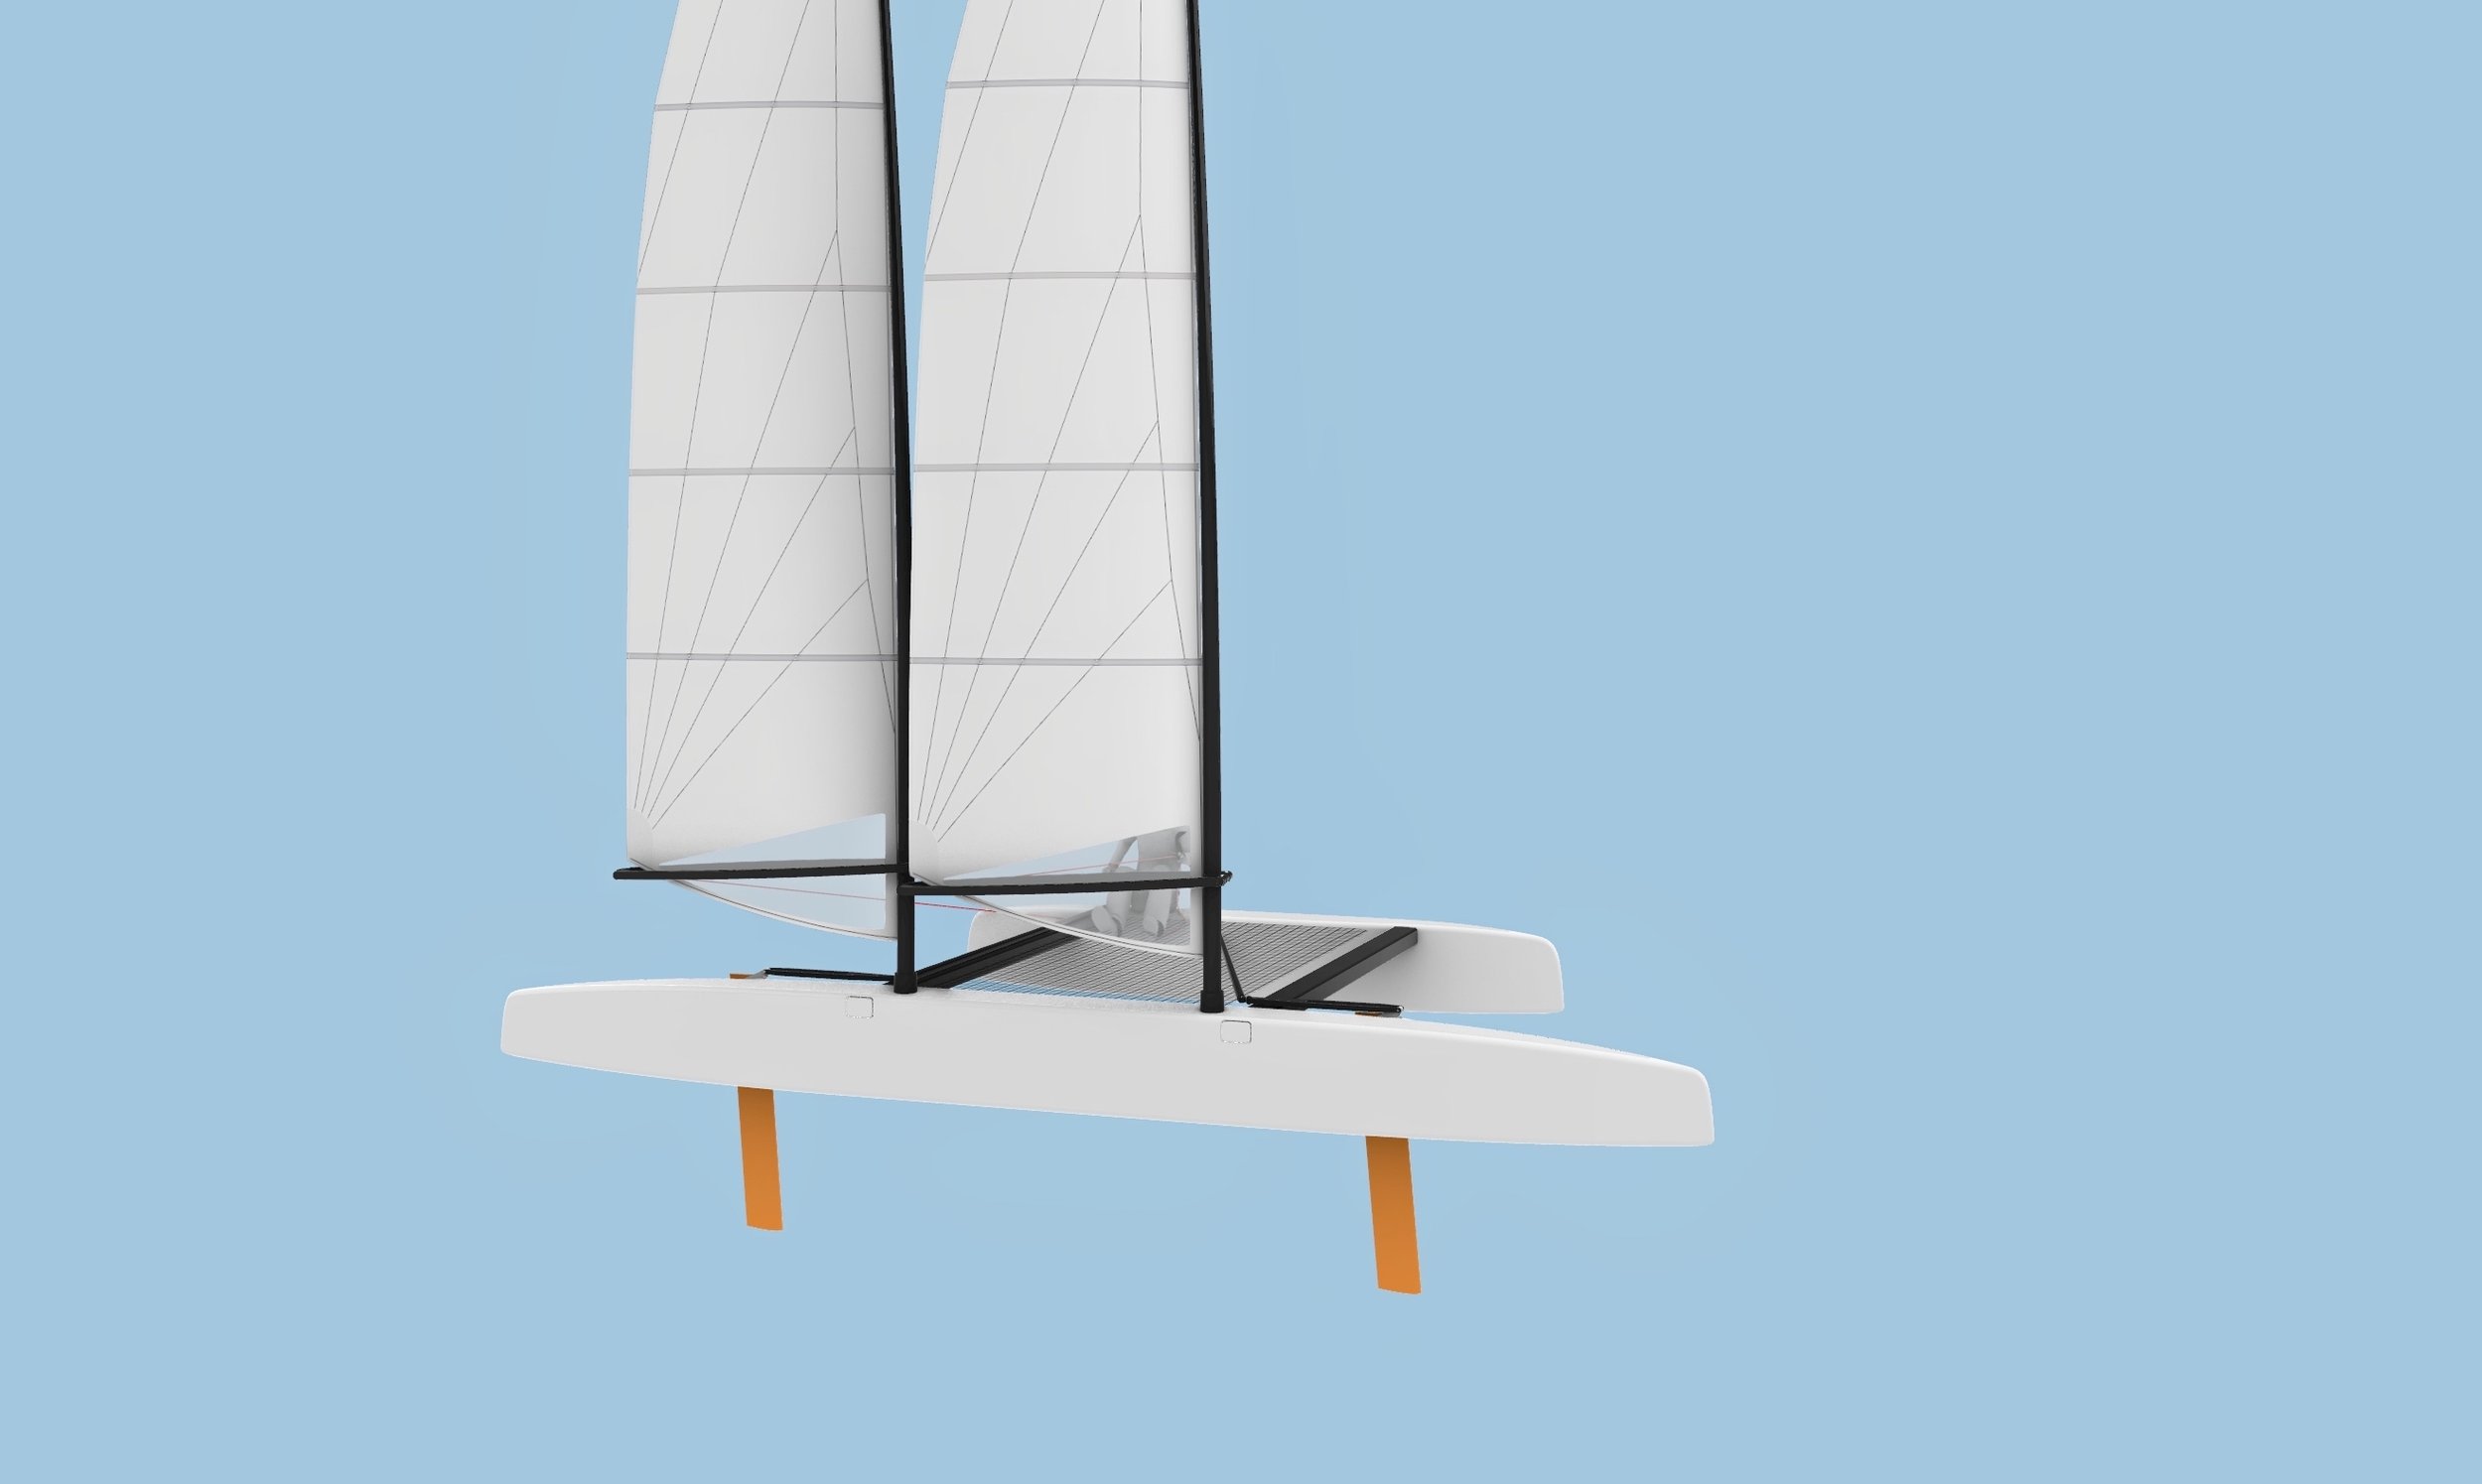
At the same time, we started brainstorming a design for the Volvo Ocean Race inshore foiler. This produced 3 new ideas. Foils, an out of hull rig and a triscarph lee hull. Followed by the realisation that an automatically self righting proa was feasible.

The upshot of all this is that BL is being turned into a trailerable foiler so we can check these ideas out.

The beams will be reduced to 6m (ease of trailering, shorter load on the trailer, able to fit in my canal berth, chop off the dodgy bit). Righting moment is reduced, but not by much as the rig will be 2m to ww of the leeward hull, supported by stays to the ends of the beams, the same as the Volvo proa. It will not have the diamonds or the extended boom as the current mast does not require them. The rig is easier to raise and lower and allows the easiest means of altering the rake/sail balance. This also is not required with the current rig, but would be if the sail area was maximised.

The lee hull will be chopped up into 2 x 3.5m hulls, joined by a 6m x 150mm dia carbon tube. The ww hull chopped down to half the height and a cockpit added. The beam clearance is reduced, but once foiling, will be higher than before.

The rudders and foils will be mounted on the hull sides so they can kick up.

The end result will be a weight saving of about 40% (500 kgs to 300 kgs), with another 50 to come when the beams and rig are optimized, less than half the windage and no component longer than 6m or heavier than 40 kgs. The loa (12m) stays the same, the sail area on the 3 piece, 16m (1.5m of which is “bury”) telescoping mast drops to about 45sq m.

Once we know all this works, a range of boats will be available for home or pro builders.

As always, I expect to be sailing by Xmas. Photos will be on the blog and facebook. The “Volvo Proa” presentation is here.


APRIL 2017

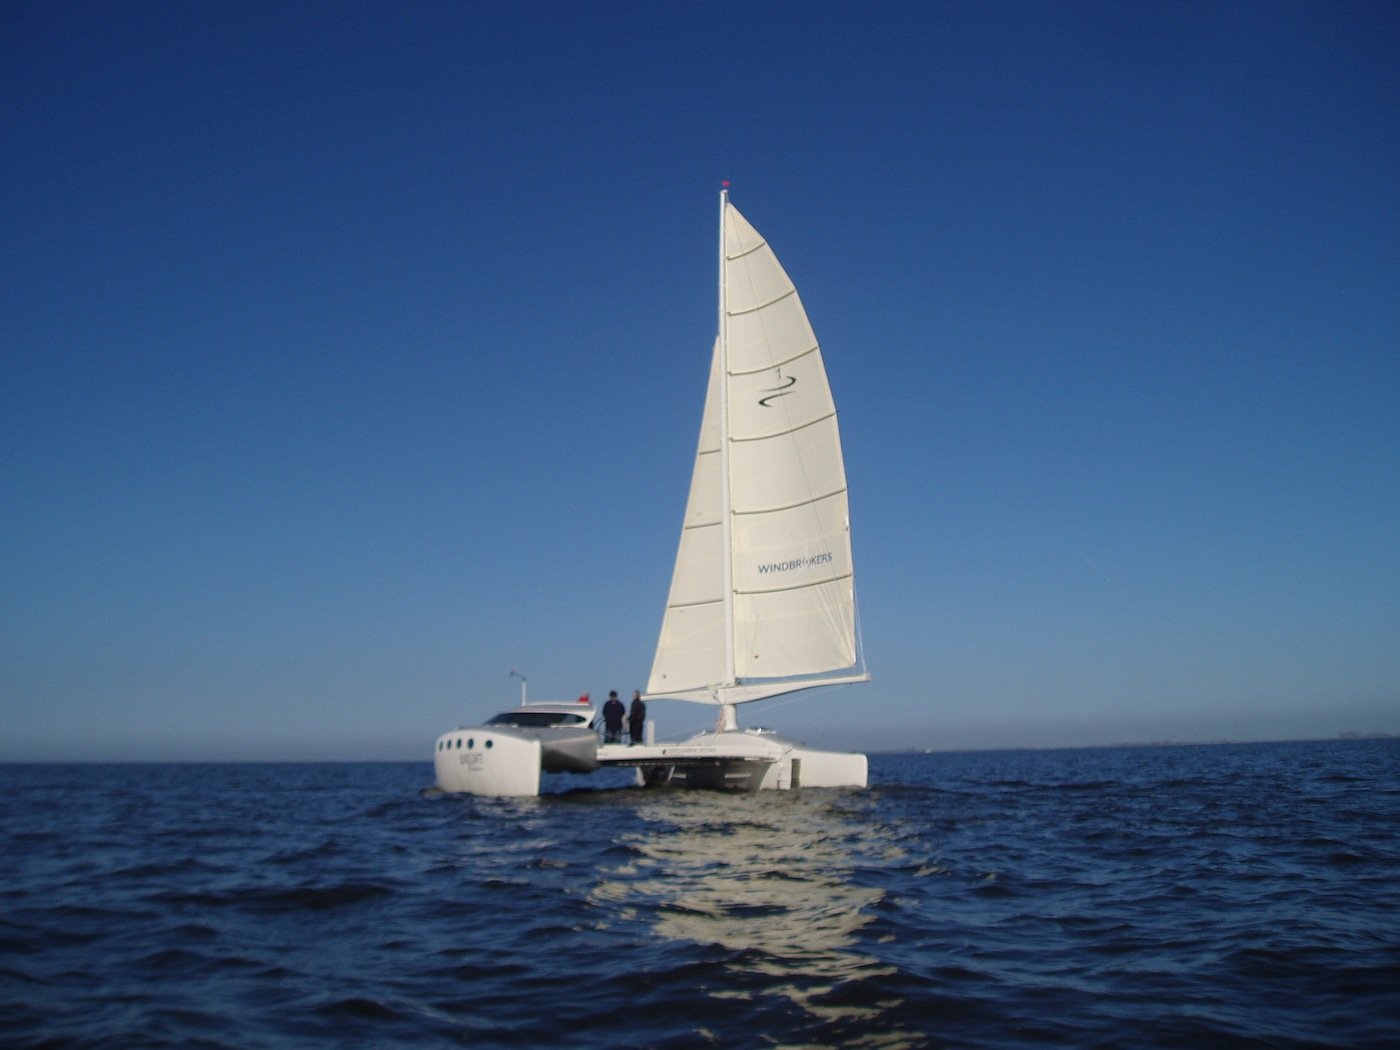
Bucket List on it’s second sail. 2 (out of three) sections of themast up and the deep reefed main (21 sq). Rudders 50% raised.

MARCH 2017 #3

Sailed today. Less than 10 knots of breeze, most of the deep reefed main wasn’t working due to halyard slippage and or lack of boom snotter tension, top speed 6 knots.  Nothing cracked, creaked or groaned,  steered well, shunted easily and turns on a dime with both rudders.  The bow stays up, at one stage was lifting, giving hope for planing.

Everything worked apart from the tiller extensions which have to be twisted as well as flipped (eventually broke one of them), because the rotation axis is horizontal instead of vertical (silly of me,) the main halyard or telescoping line which slipped and all the temporary strings and attachments which now need to be made permanent.  Also need some more purchases on the control lines.
The sail lashings to the mast, stub mast and beam mounted rudders all work well enough to continue with them.

All in all, it was closer to my wildest dreams than it was to my worst nightmare, but still a way to go to be the boat in the video.

To Do list after first sail:
rudder mounts round
match beams to mounts
machine rudder bearings and spacer
fill rudder shafts round
lengthen tillers
tiller extension connection
template, perhaps reshape rudders
paint rudders and mounts

removable end fitting in boom
snotter line blocks made permanent and 4(6?):1
cradle lines under boom
sail cover
paint boom

tow cleats on mast and/or purchases (levers?) for downhaul and spiral line
halyard lock

part bulkheads in ww hull

extension to outboard throttle and gear shift

booze/flowers for jetty owners

reef points repositioned


MARCH 2017 #2

Spent the weekend improving the rudder mounts so no sailing yet.  Big breezes the rest of this week, so no sailing until next weekend.
Got the 2 bottom sections of the mast rigged and up.  Also rigged the arrangement to lower the mast to horizontal.  It’s all a bit agricultural at the moment, but some pulleys and cleats and both telescoping and raising/lowering the entire mast will be an easy process.
Spent lunchtime brainstorming with Steinar about a version of BL with foils, weighing 2/3rds as much. Lots of fun.

MARCH 2017

1/3 of the sail area attached to the two lower sections of the telescoping mast. The rest of the sail area will be added as soon as everything is working as it should.


FEBRUARY 2017 #2

The launch of the “Bucket List” prototype.

FEBRUARY 2017

Weighed it today and the hulls, beams, stub mast, one rudder and the lifting straps (~10 kgs) weigh 380 kgs. Another 25 for the other rudder, tillers and extensions, ~15 for the tramp, 55 for the mast and boom, 20 for the sail and battens and 15 for the winch, control lines, etc. About 500 all up. There is easily 25 kgs of screw ups and changes, so I am pretty happy with the numbers. Not quite so happy with the size of the boat and how little there is keeping it in one piece. The testing is going to be fun.

Steinar and I have spent the last 2 weeks putting it together. Pretty short work days as I had to do the school run mornings and afternoons, and lunch tended to stretch out as we would start discussing ideas for harrys. Start with something completely off the wall (build methods, wings, foils, rudders, power cats to name a few), then work out how to make it work. Most enjoyable, especially compared to bogging, sanding and painting.

The work list included setting the hulls up level, bonding the beams in the lee hull, cutting and glassing the inserts in the ww hull, bonding on the ww hull beam hold downs, installing the rudder mounts (multiple screw ups and they still are not right, but will do to get going), trampoline, stub mast and a few other bits and pieces, then painting any exposed resin. The finish is decidedly work boat, but given that there are bound to be alterations, possibly some breakages and that I don’t mind what the finish is like above the waterline there is no point in putting in hours of hard work making it shiny. Plus, the 25 kgs of bog and primer required for a glossy 2 pack polyurethane finish is 5% of the boat weight.

Tomorrow/Saturday we take it apart, wheel the components 50m to a narrow marina walkway, hopefully get it down the walkway at high tide when the slope is smallest, launch the long hull, insert the beams while it is alongside, tie on the ww hull and the tramp and tow it a couple of miles to where we can anchor it. The sailmaker has nearly finished the sail above the top reef (12 sqm/130 sq’) so we will use this on the lowest section of the telescoping mast to make sure the trackless system, canting mast and halyard lock work. Once they do, the rest of the sail will be built, the telescoping sorted out and testing begins in earnest.

There is still time to estimate how fast Bucket List will sail and win it for a day, or $500. see http://harryproa.com/?p=1837


DECEMBER 2016

Making a mast telescope when the sections were not built in/on a mould/mandrel and you don’t have a lathe is an interesting challenge, especially if you want an integral 2:1 purchase inside the mast. However, it is now working and yesterday we bent it.

16.7m long, with 80 kgs hanging off the end of the 4m boom and the max bend was 280mm, some of which is due to slop in the joins. This is a pretty stiff mast due to the lack of taper on the top section. If the sail hangs to leeward of the mast (similar cross section to an inflatable kite surfing kite), this will not be a problem, could be an advantage. Being able to telescope it means that it will not be drag when reefed. Added advantage is that it can be lowered to get under bridges, giving me many more mooring options around here.

Bend testing the beams was a little more difficult due to higher loads, and 600mm bury on 7.5m lengths. It involved resting the beam on a wall, tying one end to a tree and hanging off the other end. The support was not up to the job and started failing at half the design load, so this will have to wait until the boat is assembled.

I have also finished the tiller extensions, tillers and universal joins. The tillers and the joins are built from tow and pvc conduit. Very cheap, strong and no slop. The rudders, tillers, mounts and extensions weigh 20.5 kgs each.

Bit more work to do on the rudders, then everything can be painted. This could take months of sanding and filling, followed by multiple layers of expensive sprayed on paint. Or, I can give it a quick grind, then hit it with 2 coats of water based paving paint. Pretty easy decision, especially as I am under no illusions about the probable need to make adjustments and repairs.

I missed the pre Xmas trucking window, so the lee hull comes up in January. Could/should be sailing in February, which makes a nice change from “sailing by Xmas”, which is what it has been for the last couple of years.

In other news, the German Solitarry has been sold and is being converted to a kite proa. More on this as it happens.


NOVEMBER 2016

mast-2

Built a flat table on Tuesday, 3 of us had the beams built by Friday afternoon. They aren’t perfect as some of the ideas didn’t scale up the way i thought they would, but they should do the job. The following week, we built the 3 x 6m sections of telescoping mast. Round within a mm or 2 and straight.

These methods should make it a lot easier for amateurs to build their own masts. We did not infuse them as infusing carbon when you cannot see it is potentially more expensive than I can afford, but using long outlife resin, it was not too fraught.

Beams and masts need reinforcing added (this could have been included in the build, but I was a little wary of trying too much at one time), which I will add this week, then test them by hanging loads off them and measuring deflection. This does not prove their strength (this would require breaking them), but does prove their stiffness, from which the strength can be extrapolated.

The weights of the tubes are:
Beam 1: 28.2 kgs.
Beam 2: 28.7 kgs. (This one has a bit of a stick up with the internal bleeder. Going to need a long chisel to get it out.)
Bottom mast: 14,1 kgs
Mid mast:11.3 kgs
Top mast 10.9 kgs

The extra reinforcing and bulkheads will add a couple of kgs to each piece. Should end up about 30 kgs per beam ( a little heavier than estimated and 40 kgs for the mast, which will be 16.7 meters long when fully extended and is a fair bot lighter than anticipated. There is room to add more uni if required. This is a little shorter than originally designed, but it is not a big deal to add another section (either to the top or bottom, depending on stiffness) if required.

Once the beams are reinforced and tested, I can build the rudder mounts, then start assembly.

I have also made a model rig which the sailmaker is building a sail for so we can check out the non track options for attaching the sail to the mast.


AUGUST 2016

Fun times. 4 x 15-16 hour days, just like when i was young and gung ho. Except I spent yesterday in bed recovering. 😉

Got the mast step towed in place, the bottom glassed and faired. It was pretty rough but a couple of swipes with a straight edge got it feeling good fore and aft, but there is a definite kink sideways due to the extra piece I added to fix the stuff up.

Shaped and added the ends, glassed the deck join, rough faired the deck (still haven’t decided what, if anything, to do about the V in the deck) and painted everything. Pics will be on the web page soon. I didn’t take any of the processes as they are just conventional building. I spent most of the time muttering “this would not be necessary with Intelligent Infusion”. The rest was painting and antifouling.

The cheap copper/epoxy is a bear to put on and runs like crazy, but is self levelling on flat surfaces so I did the sides separately to the bottom. A light sand to expose the copper and knock off the few runs and it will be good.

The waterline is drawn (easy with a flat bottom) at 150mm/6″ draft, which is what it will draw when flying a hull, with the bow knuckle just submerged. At anchor, about half as much.

Paint looks ok from 3m/10′, but only has to keep the sun off, so will be fine. Once I know it all works, I may be inspired to get out the longboard and tart it up.

Things to do before sailing?
Build the rest of the mast and the beams. Peter has a couple of urgent jobs to wind, then the beams and mast. He says within a month.
The beams have to be fitted into the sockets in the lee hull and aligned.
Rudder mounts on the beams.
Truck hull, beams and mast from Adelaide to here.
Assemble it and install the ww hull beam sockets.
Finish the rudders. The carbon ones are built, need gluing together.
Laminate the battens. The mould is set up for this, the first one looks good, but was slow to build as I wet the tow by hand. A wet out bath is the next job. I will also see how much difference adding a core makes to the weight/stiffness.
Paint mast, boom, rudders, beams, tillers and extensions.
Tie on the tramp. Bit of experimenting required as I want it to stay on the beams and tighten it with a single or perhaps 2 lines.
Set up the mast and boom so the sail can be made.
Go sailing and see what works and what doesn’t.


JUNE 2016

2 days before I left for Adelaide to join the hull halves together I was looking at some photos of the hull halves and realised that the bottom of the hull was 200mm wide instead of 400! Not sure how this happened, or why I had not picked it up previously. So, I spent most of last week fixing it by adding a strip along the bottom and widening the bulkheads. This was a horrible job which reminded me why we developed Intelligent Infusion. Hopefully, this is the last hull I ever build that requires secondary laminating.

The extra piece also meant the bows needed adjusting and the installation of the mast sleeve was harder than it could have been.

On the bright side, Etamax have built the first section of the mast (weighs 13 kgs) and will be doing the rest ‘soon’.

I will be going back in a month to do what I hoped to get done last week. ie, complete the join, put on the bows, glass and fair it below the waterline and paint it, prior to trucking it back here to assemble and sail.


APRIL 2016

Feedback  (and belated common sense) indicated that Bucket List would be uncomfortable to sail for long periods.  So we added a cockpit.  It increases the weight by about 15 kgs, but it is in the right place, to windward.  The great thing is, that it can be removed and stored in the little hull, so we still get 4 boats in the container.

harryproa_bucket_list_cockpit


MAY 2015

The video is pretty self explanatory, but the following points may be of interest.

1) The foil is a modified ogive (flat one side, section of a circle the other) with a peel ply finish and an increasing number of chips out of the edges. I was surprised it lifted the hull so easily and amazed at how little turbulence it created. A strange feeling flying a hull with no sail loads on it.

2) The kite is flown on a bridle running the length of the lee hull so it steers. Works pretty well, but is neither quick nor accurate enough for short course racing or crowded waters and works very poorly downwind.

3) The leading edge inflatable kite is easy to fly and recover when it hits the water, but has some drawbacks for launching/retrieving, scaling up and “parking” .

4)Top speed was 16 knots, in about 15 knots of breeze. Upwind angles were close to 45 either side of true breeze. Downwind was poor to non existent. Looping the kite gives a huge amount of pull, but getting the boat to go downwind is a challenge. Looping generates large forces and enables us to bear away – but then getting away from downwind enough to keep the kite in the air is difficult.

5) Acceleration can be very high. The first time we powered up I went overboards backwards. Fortunately, depower is also very quick, so I was able to get back on before the steering line ripped my arms out.


To do:

Rudders, which will be part of the development for BL

Autozenithing kites. These are ram air inflatables, with some advantages for launching from the boat (no pumping), no bladders to burst, high lift to drag ratios but some peculiar attributes which we are still sorting out. When they work, they are hugely powerful. When they don’t, they are poor. Best attribute though is that when you let everything go, they fly stably, directly overhead. This has big implications for launching, retrieving, coffee breaks and launching multiple kites on the same set of lines, which is one of the options for increasing power.

Downwind technique. Looping a kite or figure eighting it across the wind increases the apparent wind the kite sees by a multiple of up to 3 times, which would provide 9 times the power. This is what causes most kite accidents. Harnessing this for downwind sailing has large potential. I have altered the laser for solo kiting (added foot steering) so I can experiment with various options. Moving the tow point bridle on the Elementary may be possible and might correct for this.

Smoothing the foil.

Trying the foil under the long hull, with the kite flying from the short one. May or may not be faster or more controllable, would certainly be cool to fly the whole boat on one water foil stabilised by the kite. Trevor thinks this is a complete waste of time.

Longer kite lines for bigger loops and stronger wind up high. So far, we have only doubled the lines, which was a noticable light air improvement, but the sag in the lines made control slow. We are working on a remote controls system which will fly a kite high on a single line for most of the length with a control system close to the kite. This will provide the power and directional stability of long lines and the control responsiveness of short lines.

Bucket List Update:

Etamax have ordered the mandrel for the beams and are making a mould which will be suitable for a large range of unstayed round masts, including Bucket List’s. They have a couple of other paid jobs on so no idea when it will all be done, but getting closer.


MARCH 2015

Etamax lay up and infuse the second hull. Looks good, few small misses, but fixable. Still waiting for the weight, but it should be less than the first half.

Lots of time spent on the new designs with Steinar. Wonderful to be working with someone with a sense of style again and what he doesn’t know about Rhino (CAD program) and rendering is not worth knowing. The boats are much more normal looking, so the focus can be on their performance and ease of building/sailing rather then their looks, which will be a nice change. First 18m design with the new look sold.

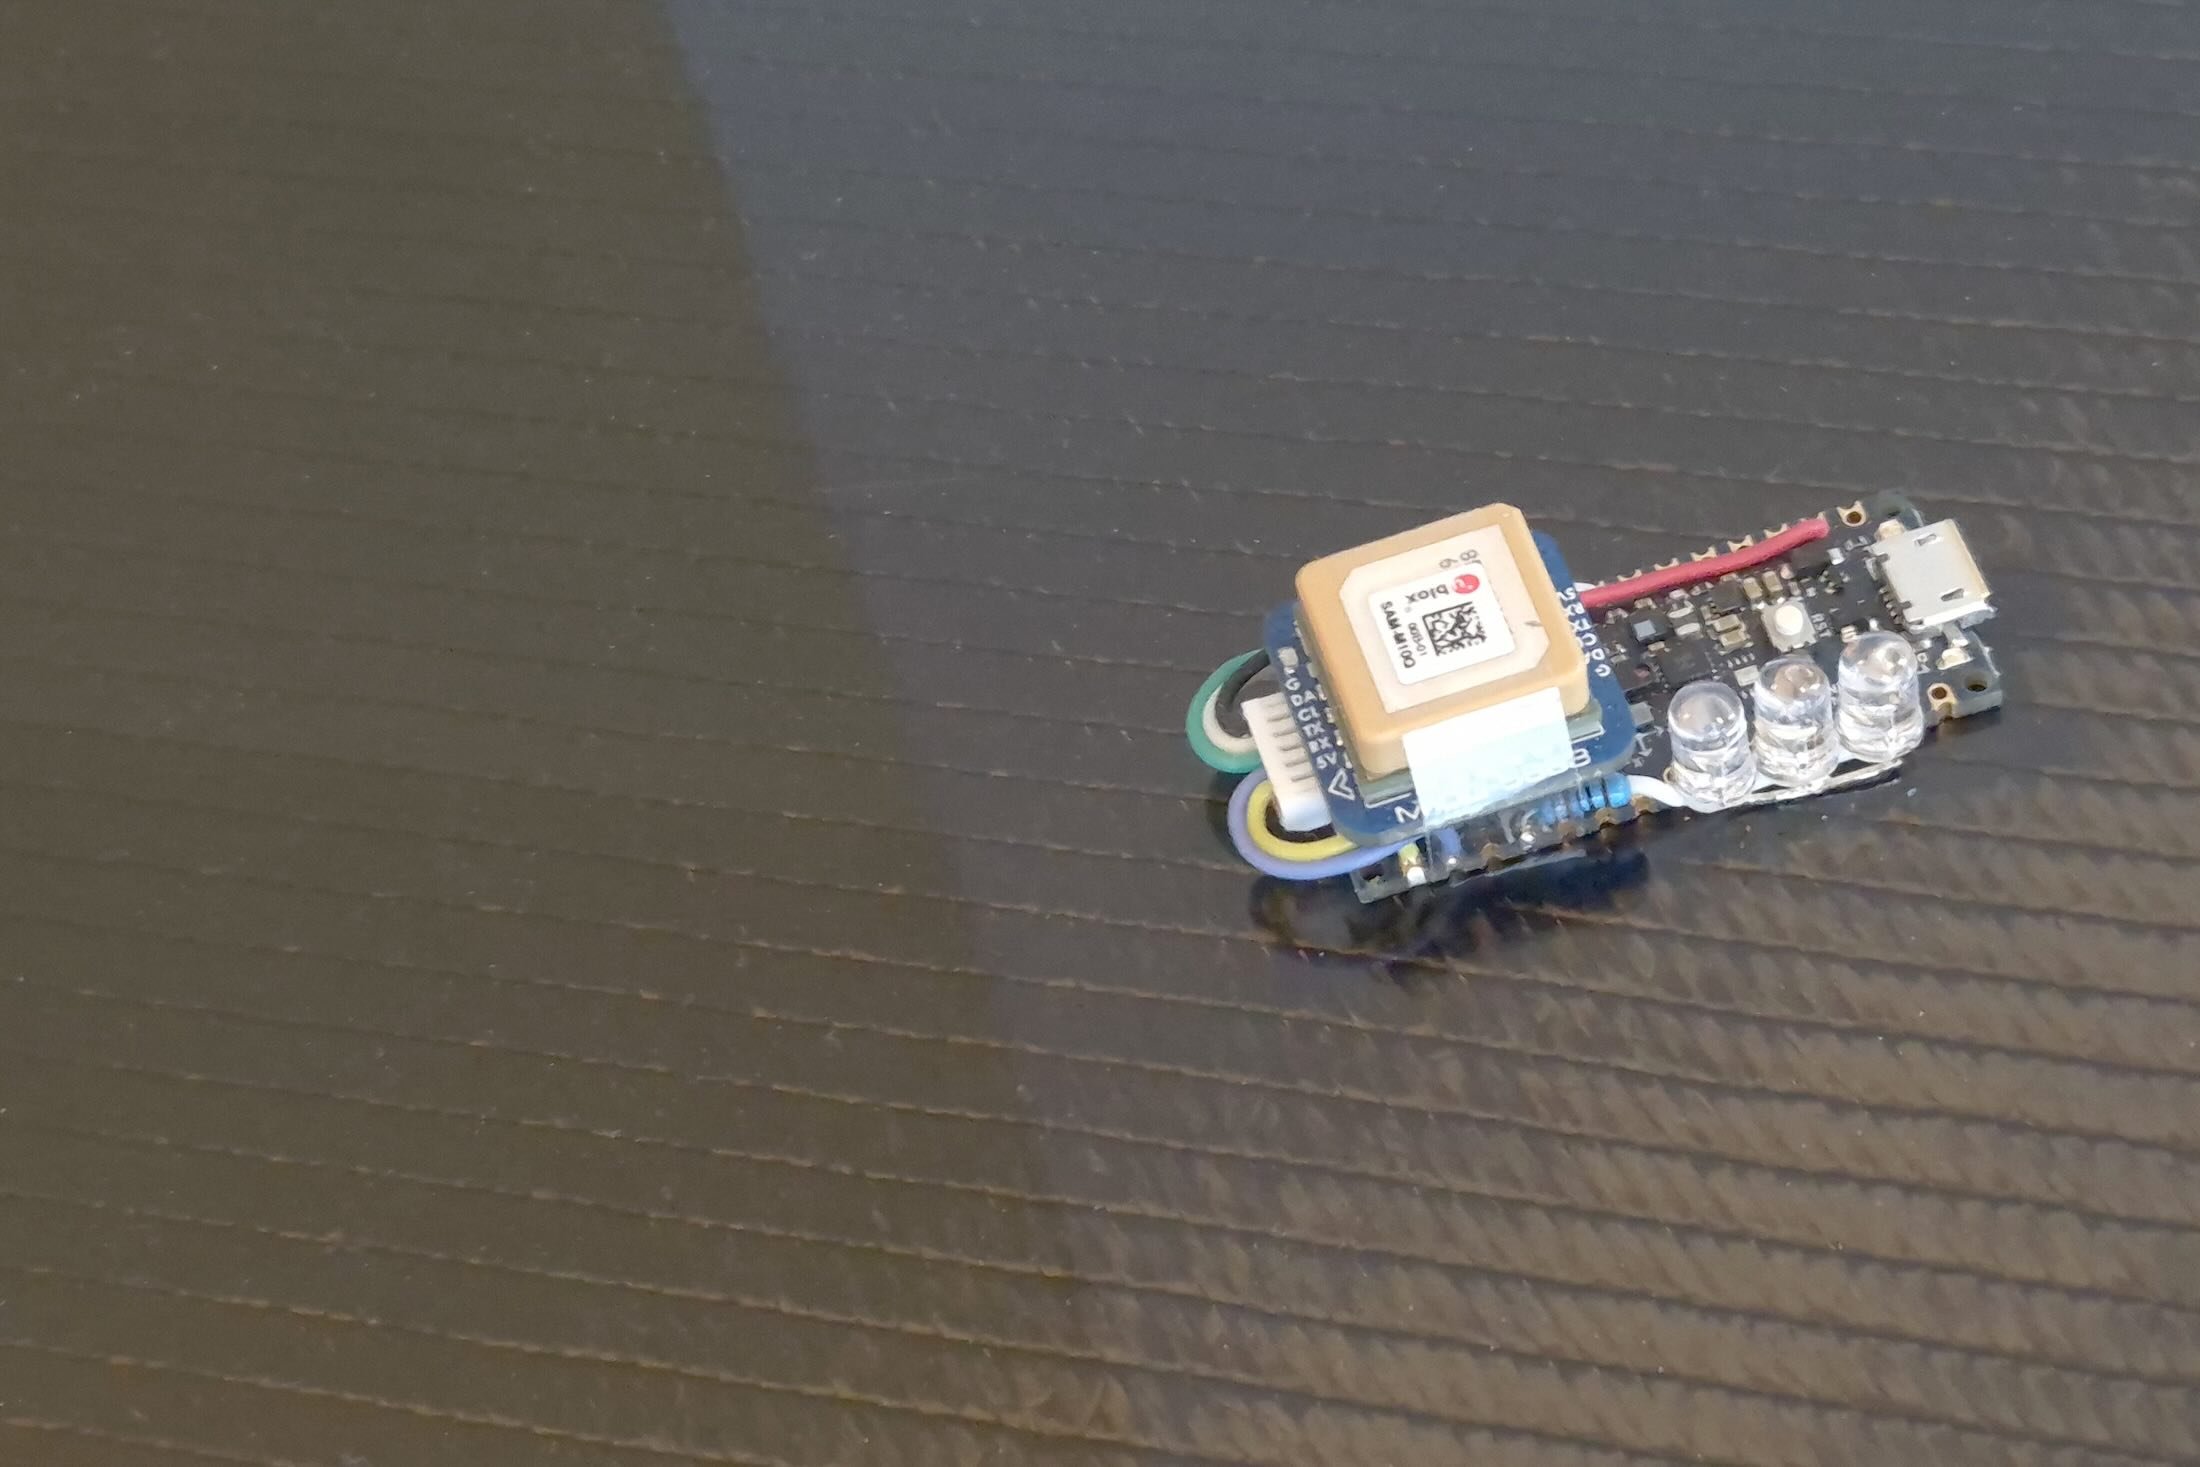
Trevor and I figure out safe and simple kite launching, fly the hull using one of the BL rudders as a hdrofoil, sort out rudderless steering and get started on remote control so we can eliminate two of the lines and their large drag. Upwind speed is good, angles need work. Downwind looping a 4 sqm kite in 20 knots, the boat is barely in the water and very fast. gps and camera go on the shopping list.


FEBRUARY 2015

Etamax demould the hull we set up. Weighs 80 kgs, a bit more resin than anticipated due to errors made while rushing to get the bag on. Big slap on the wrist for me, but most of it can be ground off.

To while away the time, Trevor (kite supremo) and I get serious about making kite boats work. Kite power has huge advantages. No mast or rigging, no heeling or nose diving, more wind up high and the ability to generate huge apparent wind by actively flying the kite. The downsides are the difficulty of launching, flying and retrieving them, plus handling the huge power spikes they can generate.


JANUARY 2015

I spent a week sailing in the Aus Multihull Nationals on a 30′ cat. Lots of fun and some close racing, but only 7 Div 1 boats, ranging from the our simple boat (4 winches, 4 sails, 2 adults and 2 kids crew) to the highly complex (curved hydrofoils, hydraulic canting rigs, multiple furling screechers and spinnakers, 6 adult crew on a 32′ tri which allegedly cost well north of half a million dollars). We broke our gooseneck fitting (welded alloy, I built a fibreglass one to replace it) and tore a cleat off the mast. The tri broke a couple of foils and had delam issues round the case. I spent a lot of time saying/thinking “that won’t be a problem on Bucket List”.
It was debatable whether the lifting foils were an advantage or not, particularly as the winner (by over a leg in most races) was a 35′ cat with straight foils.
Theoretically (weight, windage, sail area, length), Bucket List would have been ahead of this boat. Looking forward to finding out!


DECEMBER 2014

Spent 4 very enjoyable days at Etamax in Adelaide building the half mould and prepping it for the first infusion. Sealing the mould (particle board is way more porous than mdf, will not be using it again) took longer than I thought, so we did not get to the infusion, but the materials are all in the mould and the bag is on. Everything else went pretty much as planned, but tea time discussions lead to the following improvements:
1) CNC laser cut the mould. This will allow thinner, cheaper material which will pretty much cover the cost (~$250), and make assembly (a 2-3 person job with full length panels) easier, while eliminating the butt blocks, levelling the mould and getting the sides straight and vertical, none of which are particularly difficult, but combined, they take up a couple of person days and are still not exact. We made and included blanks for the beam sockets and the mast bearings. These would be more accurate and repeatable with cnc, which would also allow the bulkhead landings to be accurately (these need to be within a millimetre over a length of 2m, around 3 sides) installed in both halves. Another benefit, which has only just occurred to me, is the moulds could also have (small, but noticable) compound curvature included in the flat sides.
2) Hot wired fillets. On the windward hull, I used 10mmm radius epoxy fillets, then 50mm radius plaster of paris fillets over the top. This was easy enough, but the pop took a couple of days to be ready to sand, and the corners were hard work. On the lee hull, we used epoxy fillets, which were expensive, took a while and were hard work to clean up. The next ones will be hot wired polystyrene, which Peter (Etamax boss, cad/cam whizz, filament winding supremo and the most easy going workshop owner I have ever bludged off) uses extensively for moulds.
3) CNC router cut foam. This is a bit of an indulgence, but in the absence of a table saw saves a lot of time as well as eliminating the potential for resin to run away along gaps in the laminate. Mitchell, (21 years old, easy to get along with, understanding of my quirks, foibles and inadequacies and working for free to find out how it was done) made a better job of the foam edges than I could have, but we spent the best part of 2 days cutting and sanding.
4) Use a 2 pack paint rather than epoxy to seal the moulds. We would have done this pre assembly so everything was flat, but this would have meant most of the first day was lost while material cured. As it was, most of the third day was lost chasing leaks.
Mitchell took the following photos.

Etamax is also building the rudder housings for Luca Antara in Portugal. These are massive, very strong and quite complex. Two guys were working on them while I was there and the standard of workmanship is very high. They should be finished early in the new year.

I also found out a lot about post curing epoxy, plastic blow moulding, filament winding, infusion, machining laminates and carbon that I did not know before.

The first half lee hull is infused and apparently went well. Etamax spent some time working on the mould to get it airtight, and there were a couple of things I stuffed up (no plastic under the spiral wrap and the bag was a little small) in the rush to get the bag on, so there will be some grinding required, but otherwise it looks good.

It makes sense to get Etamax to join the 2 halves and install the mast bearings and the beam sockets as it will be much easier to do these in the factory with a lathe and a level floor rather than outside up here. I will probably go down to help, and to watch how a mast gets filament wound.


NOVEMBER 2014

Built the 2m long rudder blades and mountings. The blades are flat on one side, segment of a circle on the other. Easy to build, less easy to join together.
Edit: these blades were recently used as hydrofoils on Elementarry and worked very well. Not so good as rudders, the lift they generate causes them to assume an angle of attack, which needs to be countered with the tillers, which is harder work than I like. They will be replaced with symmetric sections.

The rudder mounts and cases were knocked up from ply, carbon tow and plastic conduit to see how they worked. First couple of attempts were not good, latest ones look ok and work on Elementarry. I’ll try them on BL and then make a decent set from foam.


OCTOBER 2014

ready to infuseTo ensure the flat panel mould building technique works, I started to build the windward hull for Bucket List. The mould is split down the mid deck and keel lines, with bulkheads 250mm from each end. 18mm thick mdf with melamine faces was cut into 400 wide pieces and butt block joined to make 5.75m lengths. These were used for the sides of the mould (deck and bottom of the boat). Sheets of mdf were joined to make half the length of the bottom of the mould/side of the hull then stacked and the rocker and sheer lines cut. The sheer is not critical, but both ends must be the same. The rocker is mostly flat. The two halves were joined and screwed to battens on the mould sides. The edges were filletted and the mould sealed. Took about 12 hours.

The mould was covered with plastic sheet, then peel ply and the laminate. No polishing or mould release required, and the hull is ready to paint when the peel ply is removed. A few experiments and wrong assumptions on the first one meant it took a while to build, but the second one took 10 hours to lay up from empty mould to sucking resin, including cutting the foam and glass and the edge treatment. I only had the garage for a week, so was not able to incorporate as many of the intelligent infusion items as I would have liked, but these have all been tested on other jobs, so the only loss was to the overall build time, plus a little extra weight. If I had included them, the hull would have been glued together with the bulkheads, entry and escape hatches included and be ready to paint. Instead I had a month of conventional boat building putting it together, filling and sanding.