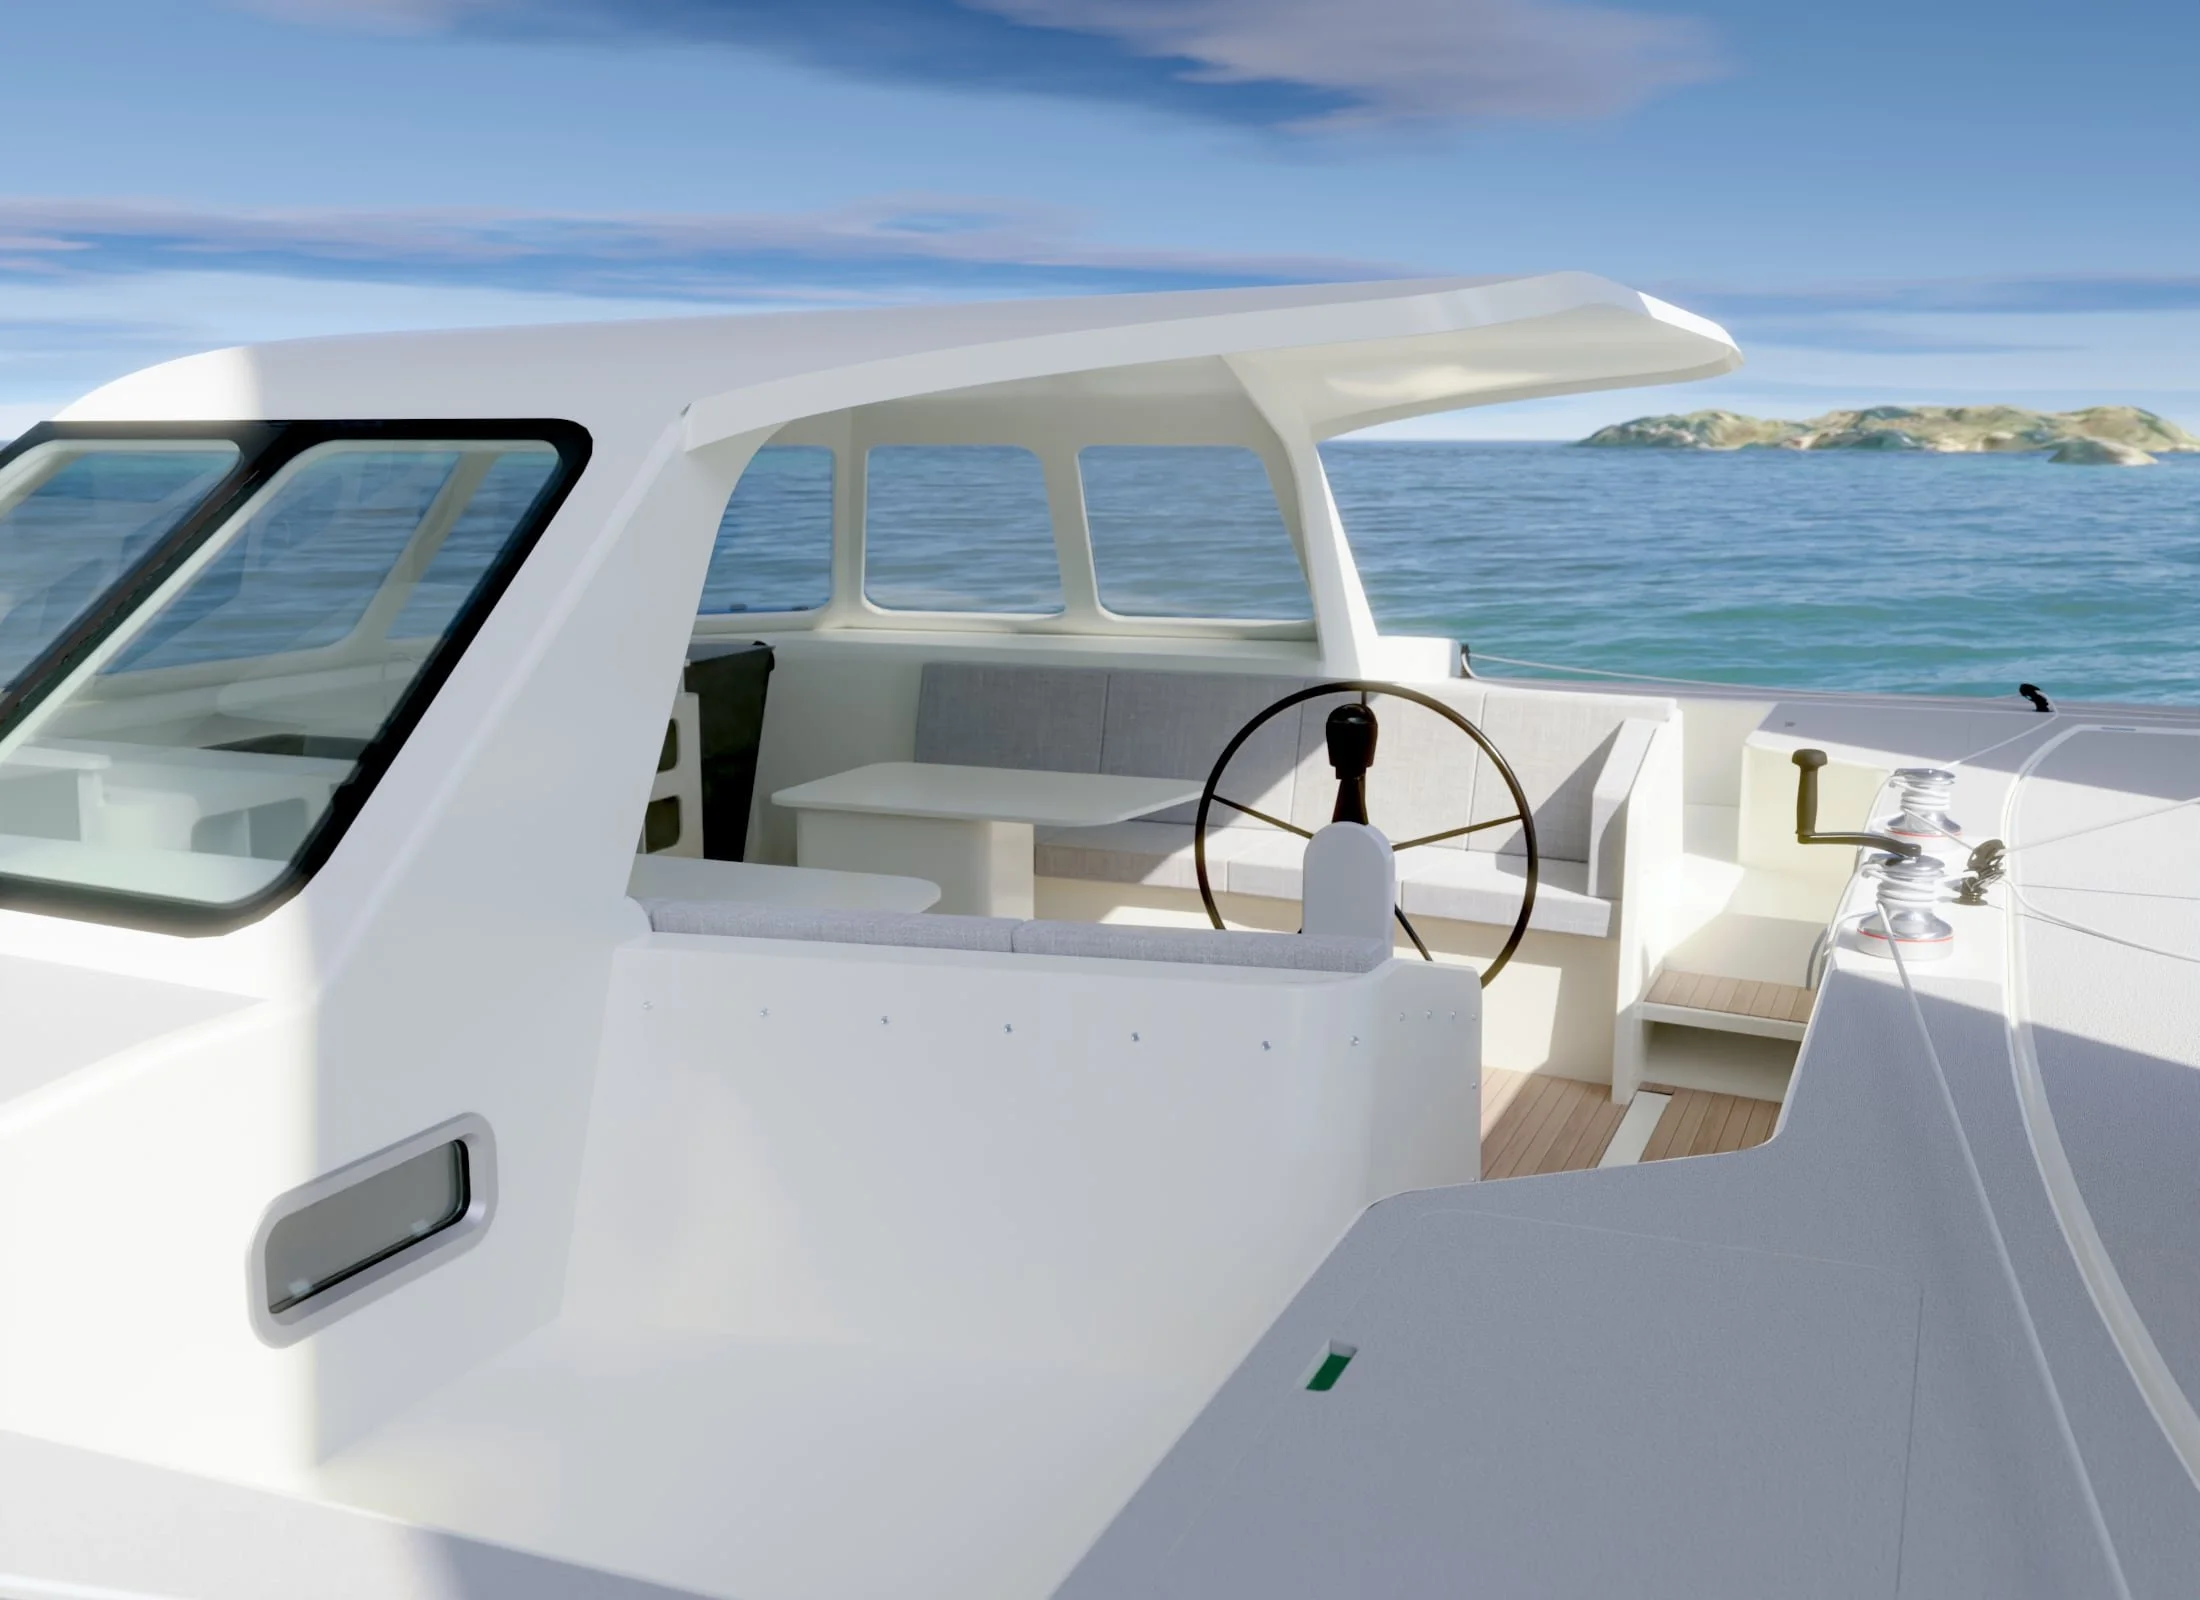
Cruiser
The perfect ocean voyager, yet simple enough for a quick sail after work
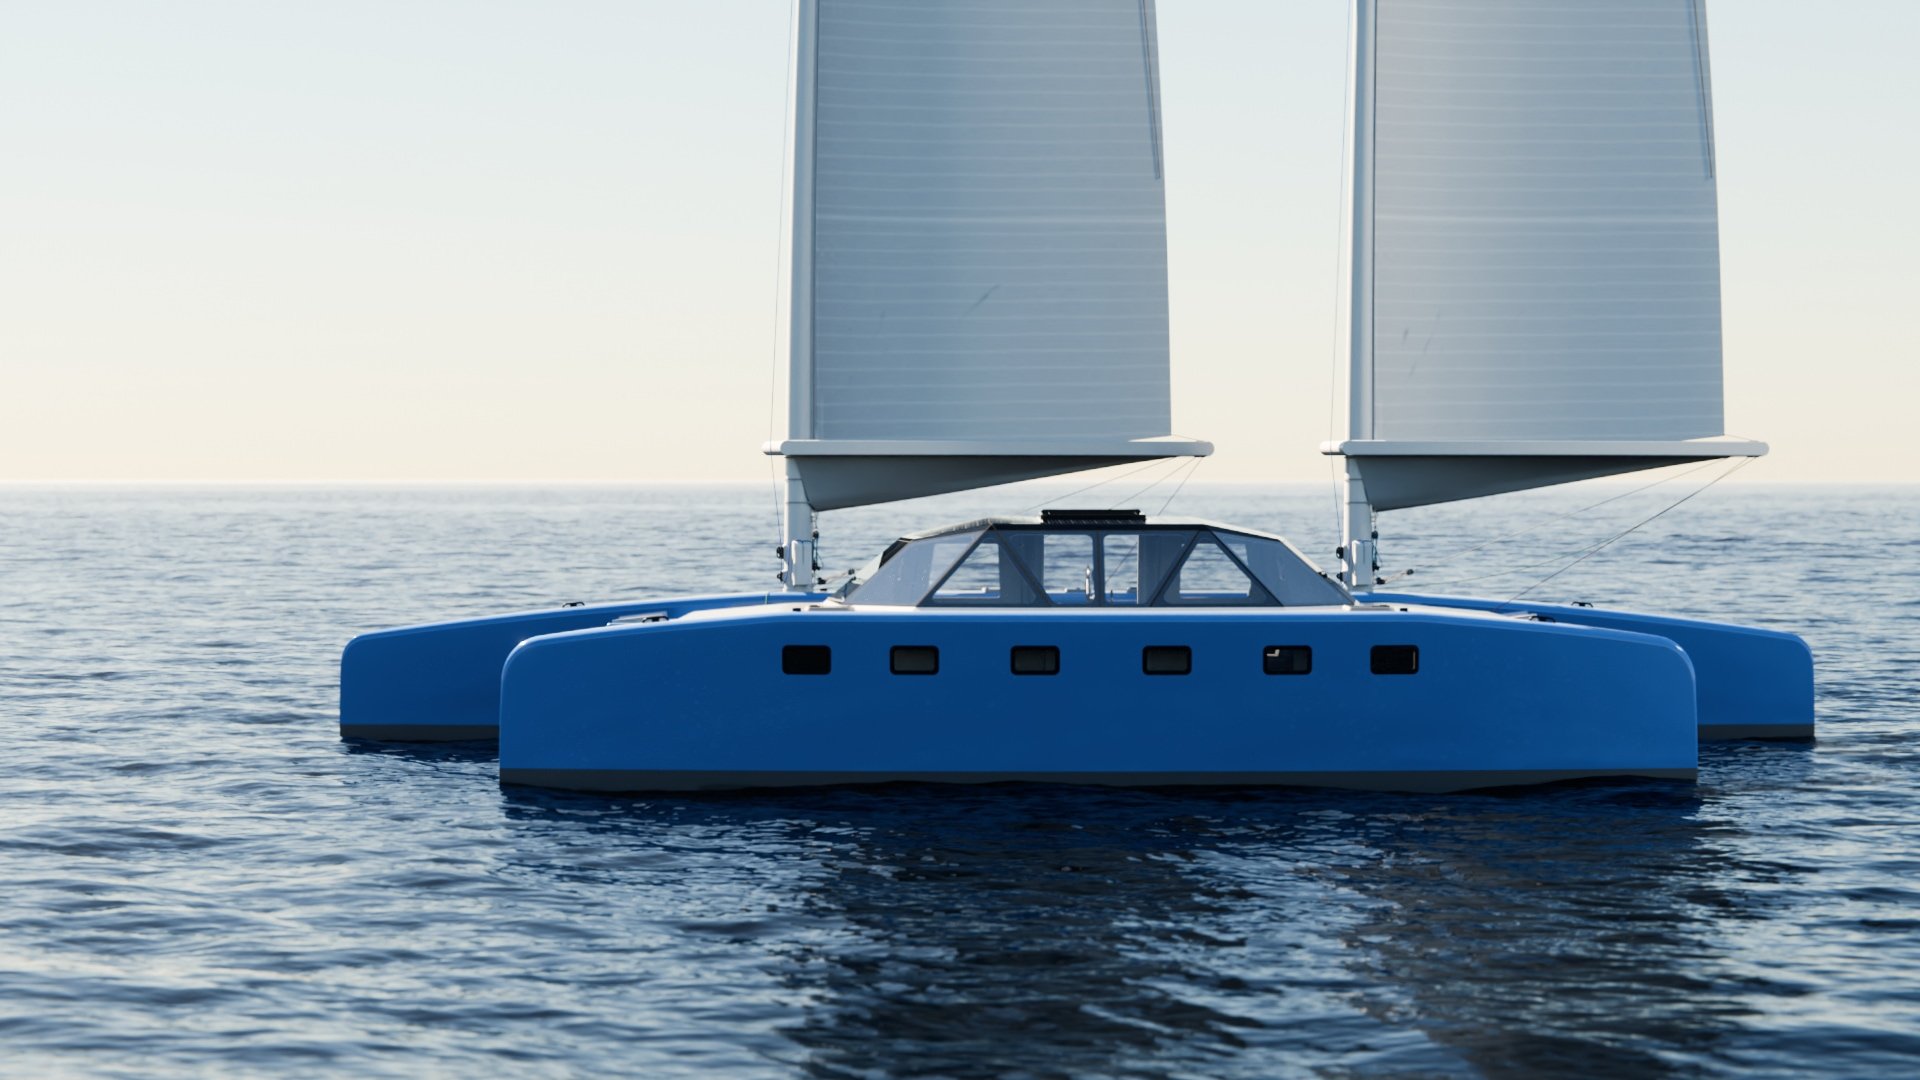
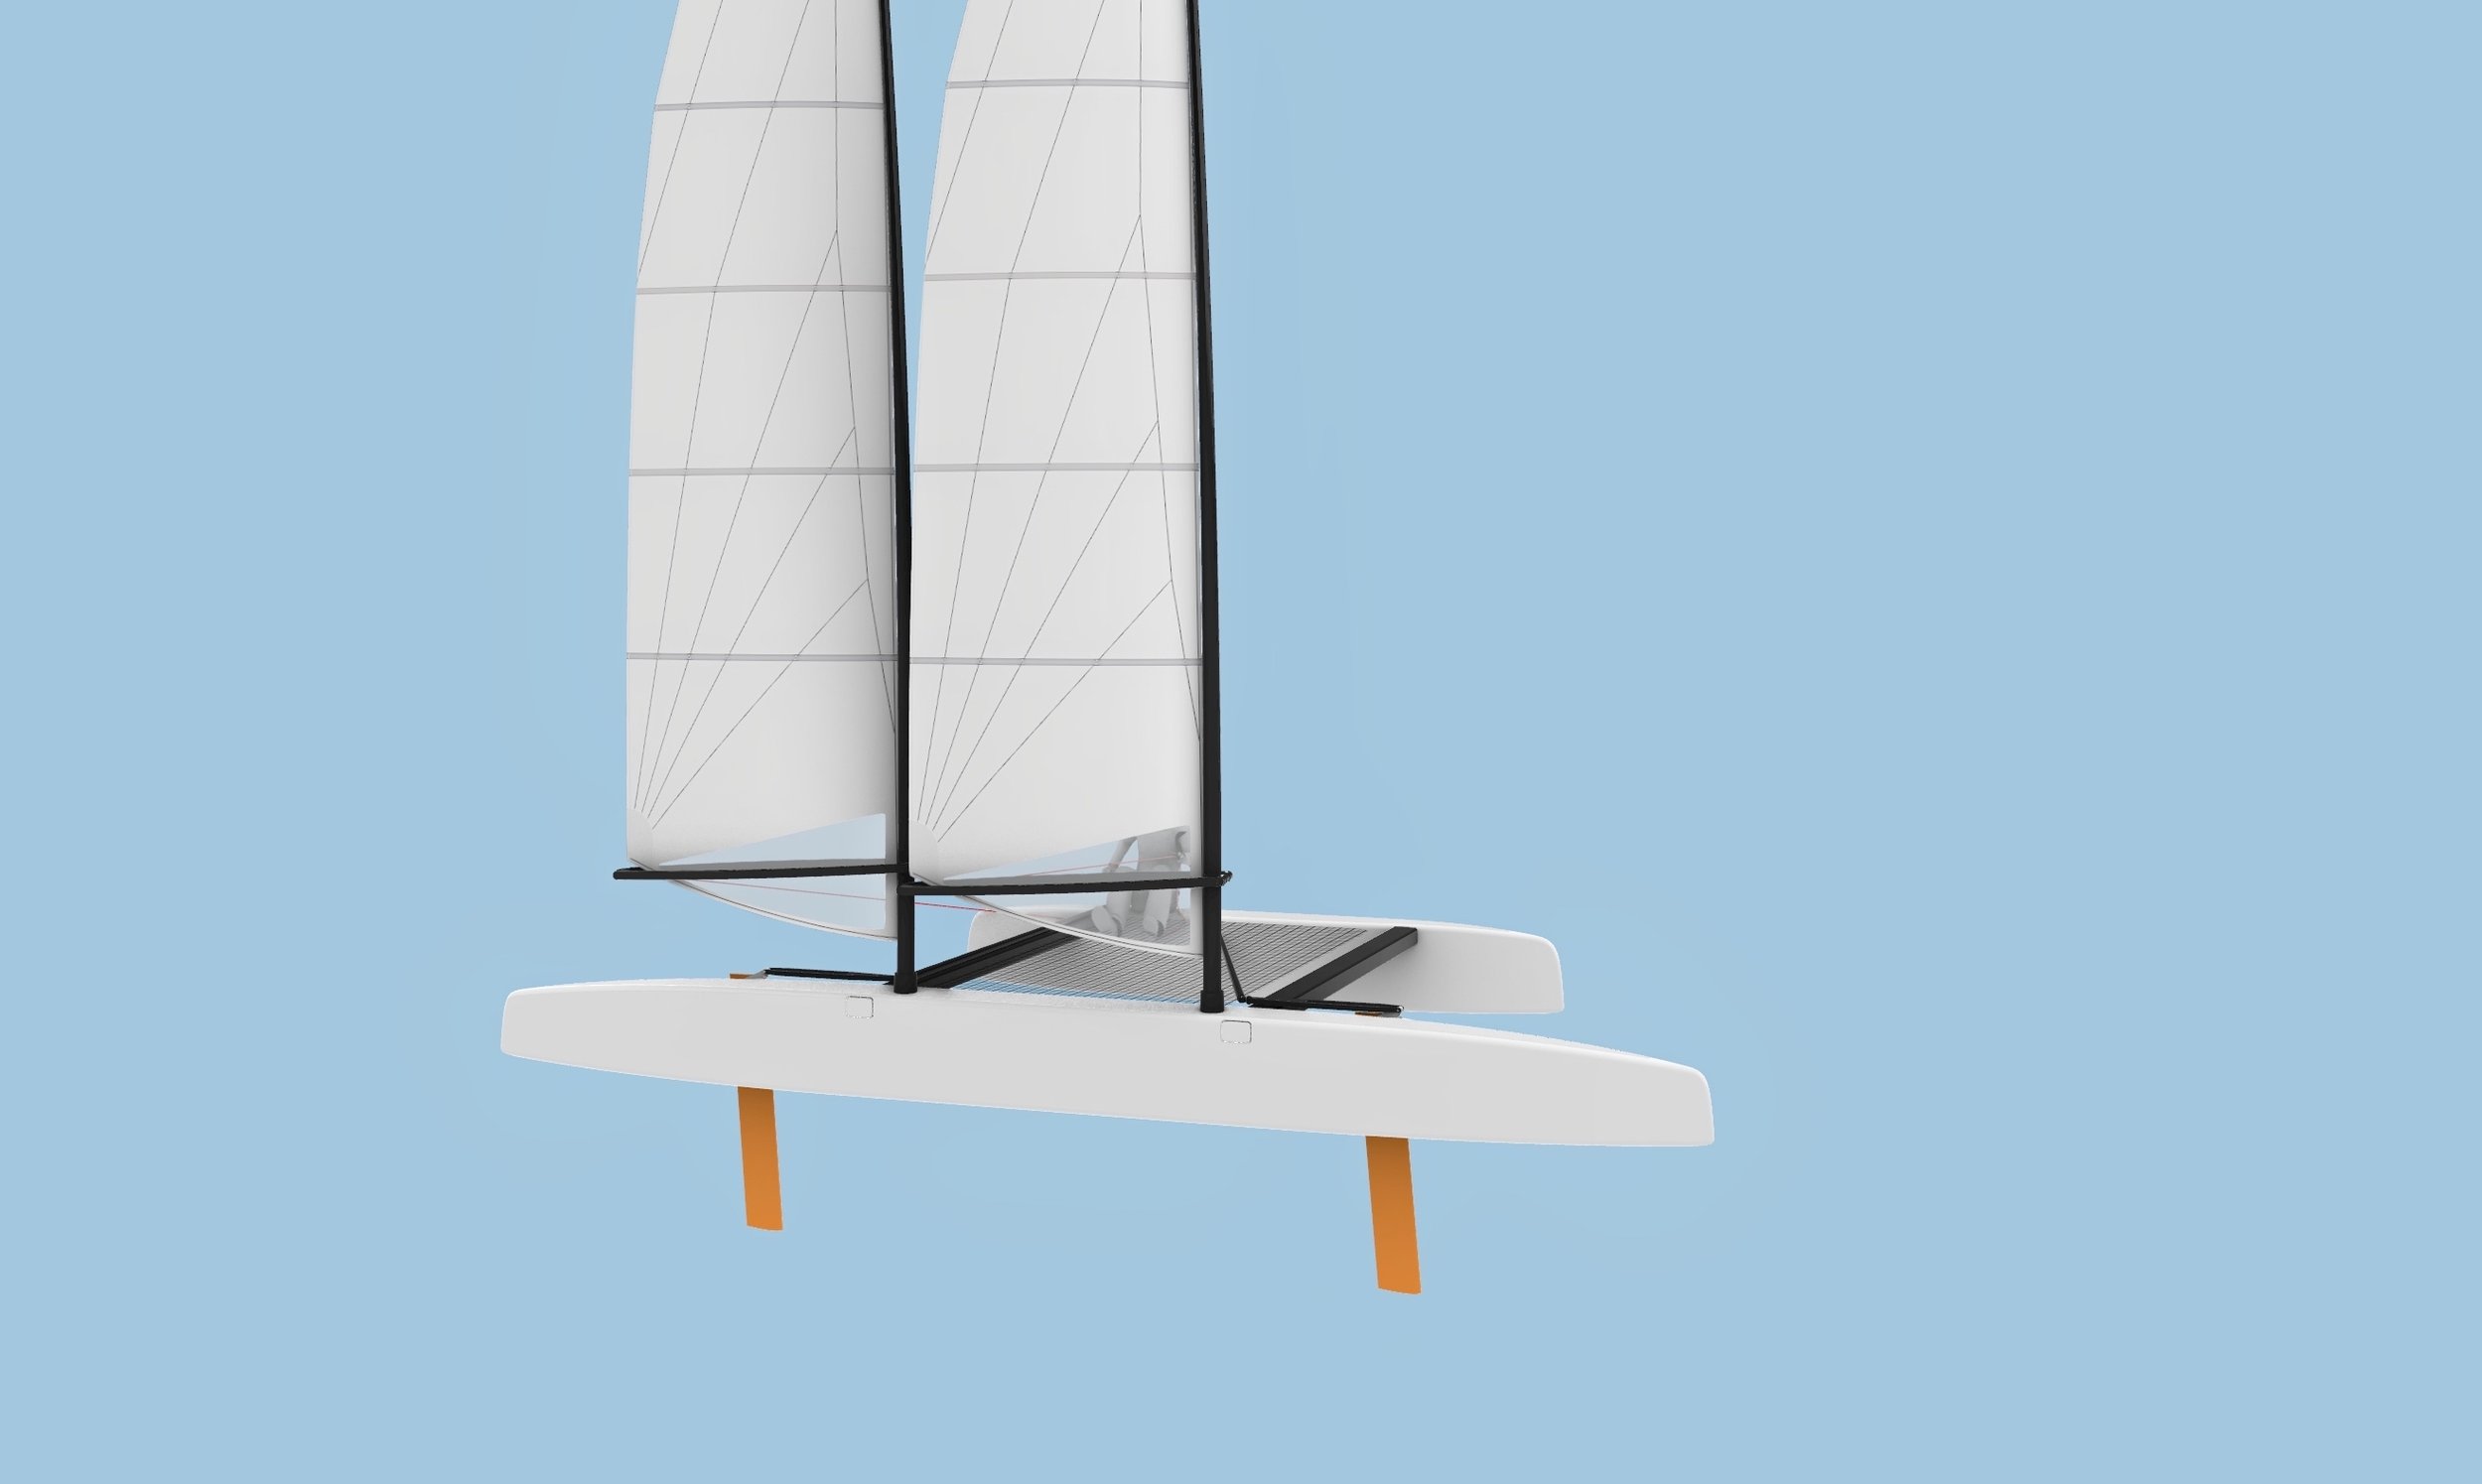
C50 Air
The best of two worlds
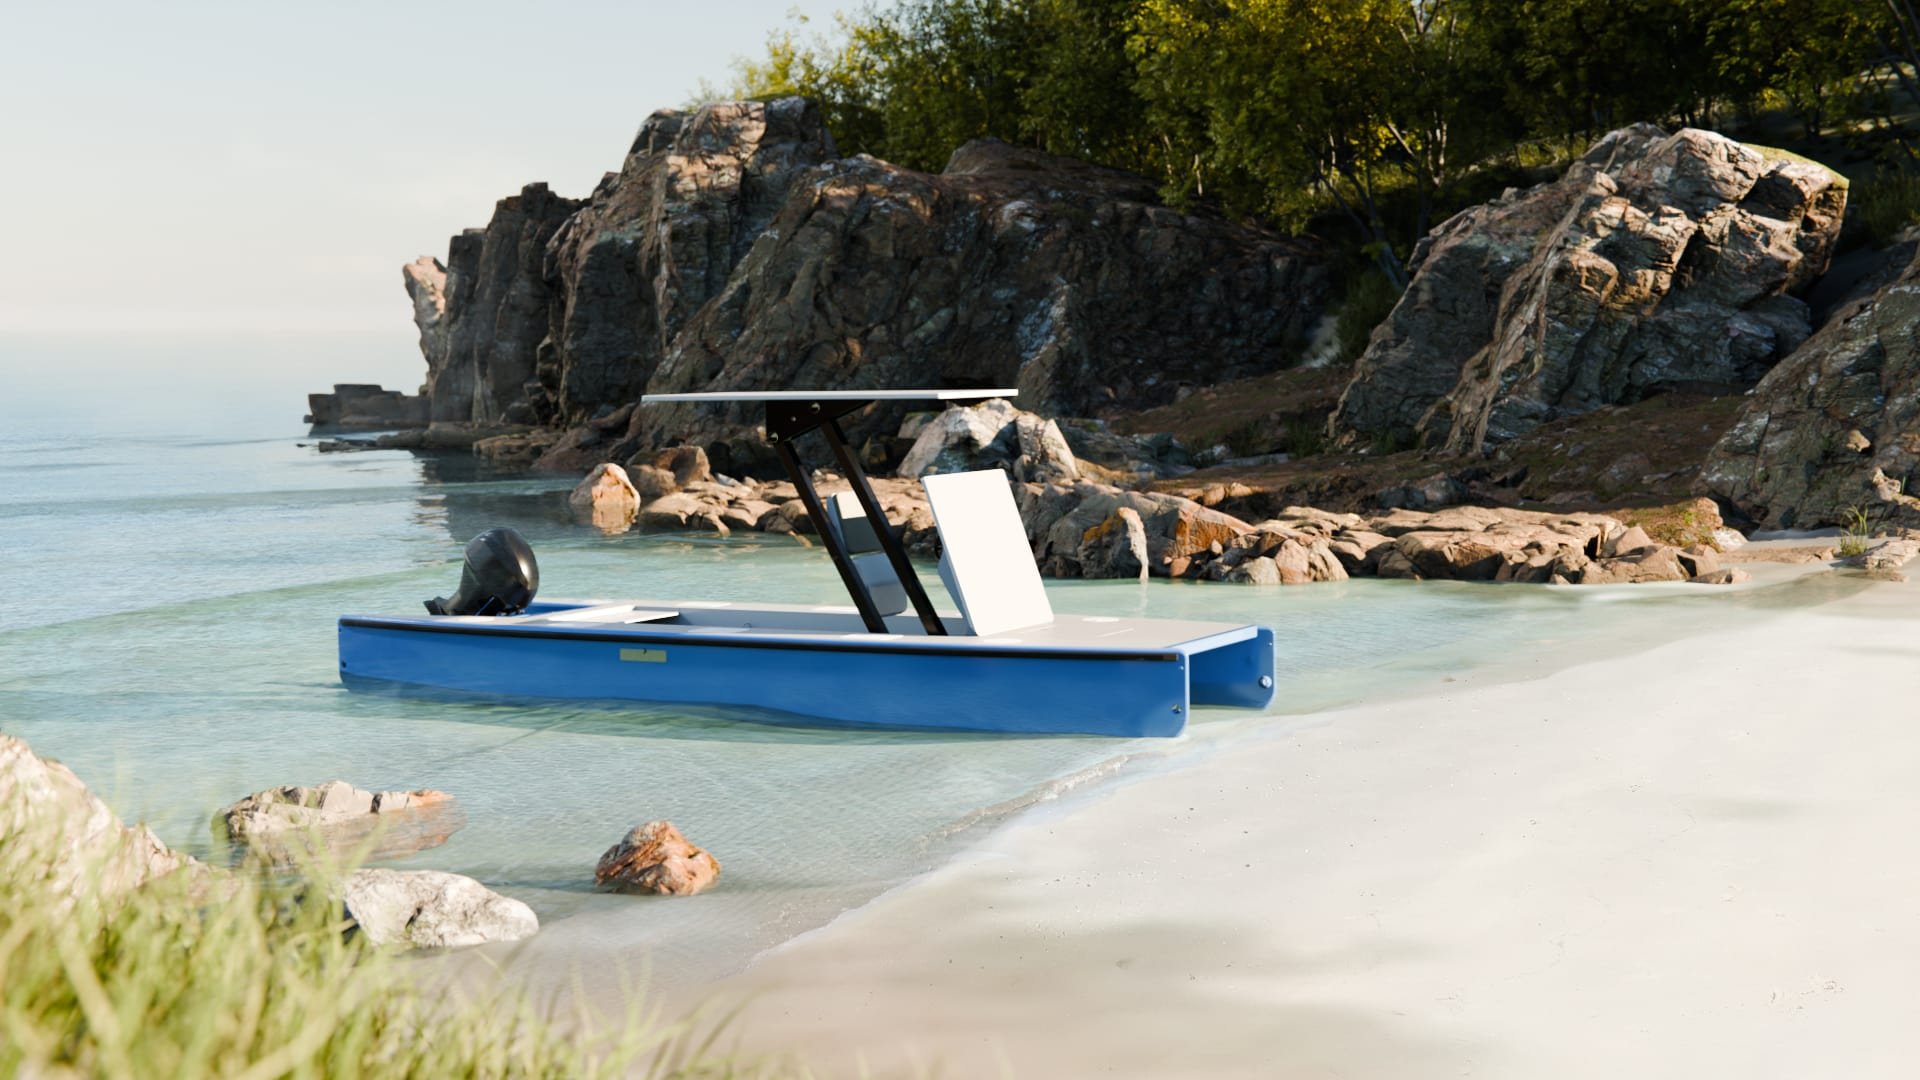
Tenders
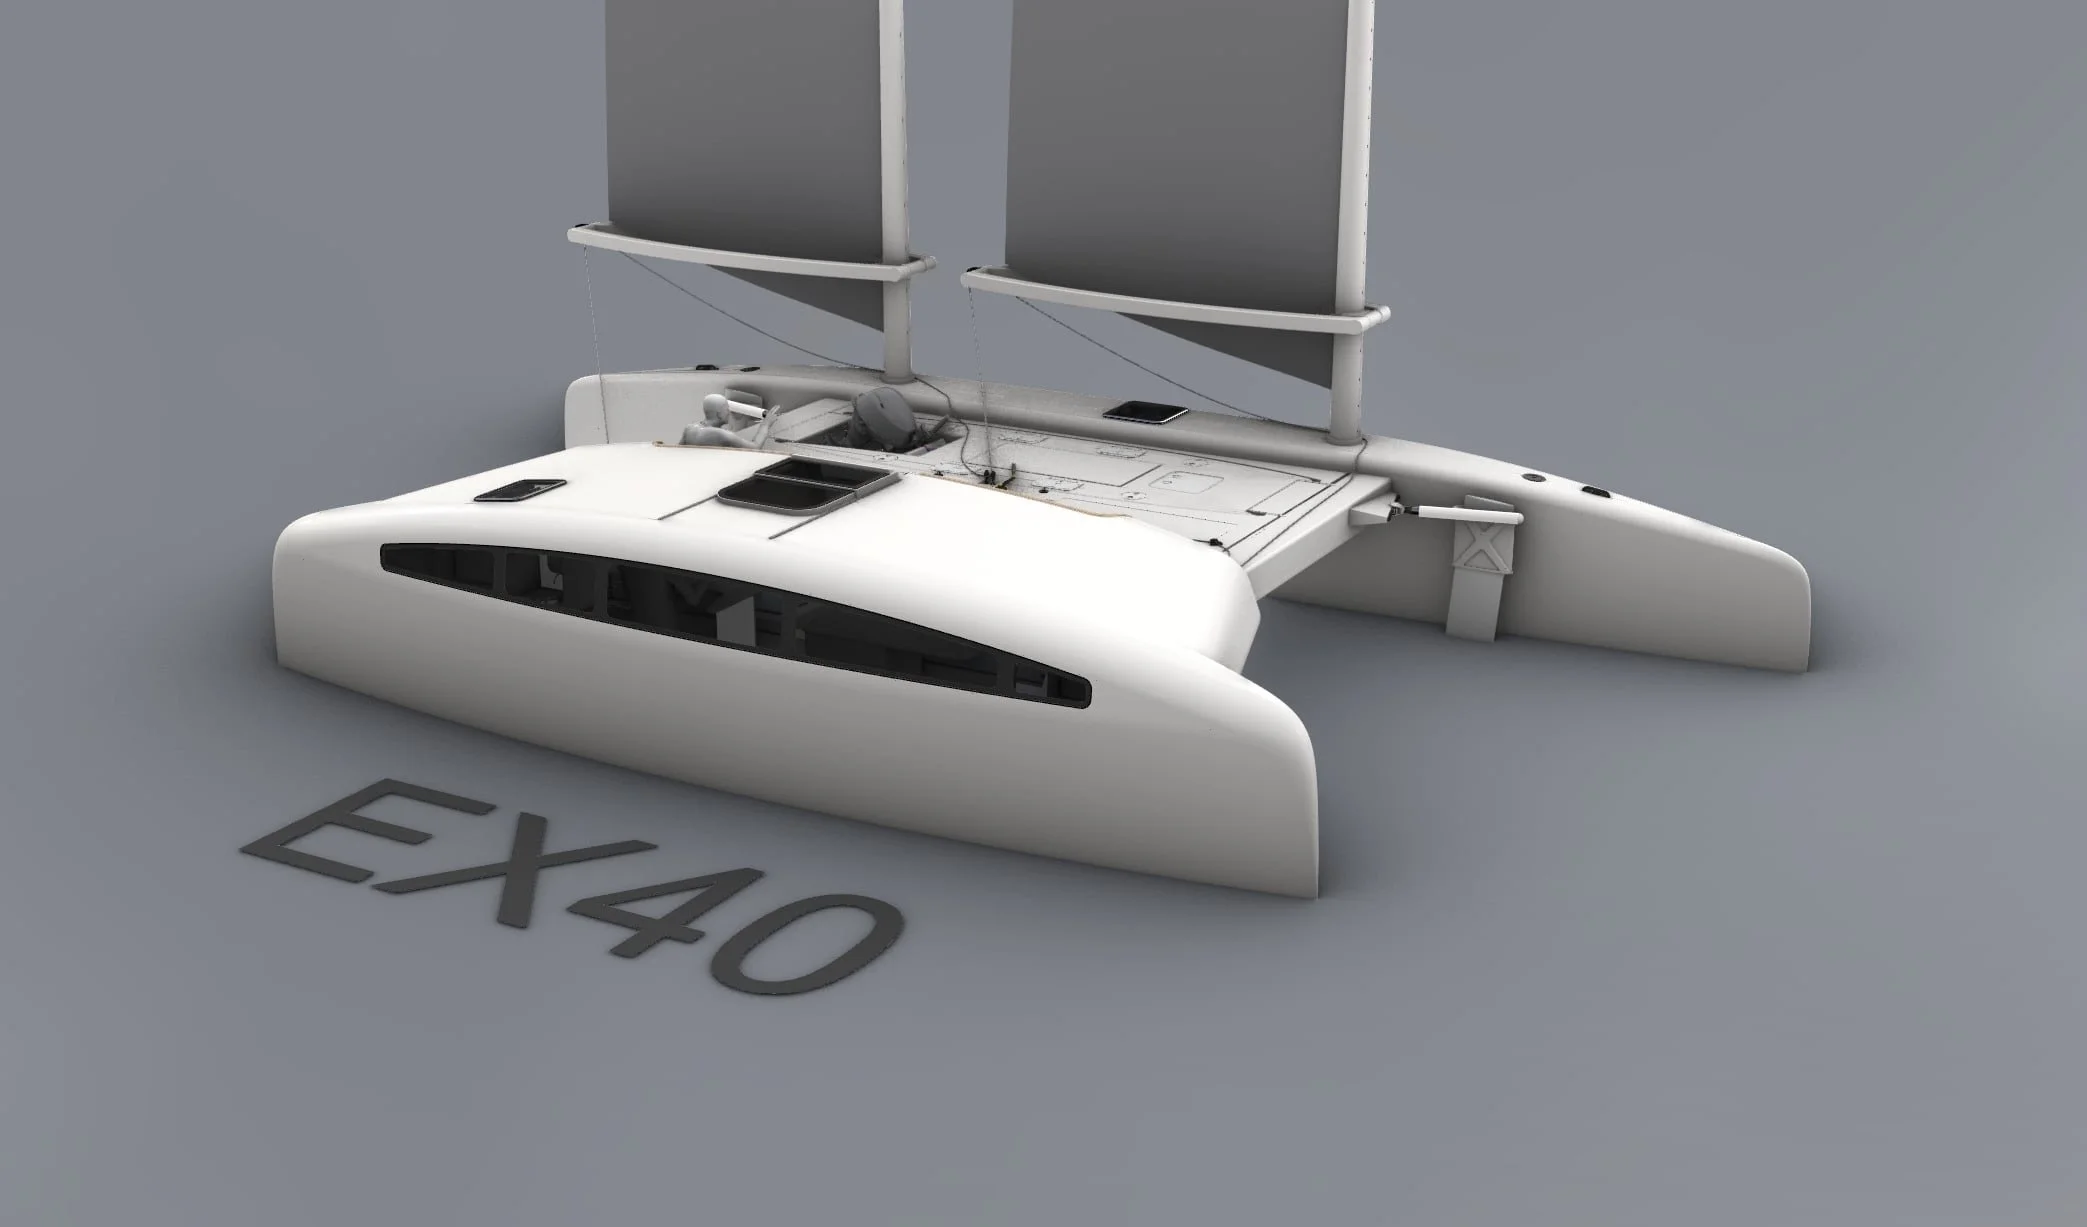
The EX40 - ideal for a weekend, but big enough for longer distances for those who don’t need all the comforts of home
E25
Cargo Proa
Intra/inter island ferry/cargo vessel for servicing remote villages in the Pacific
Latest


Plans
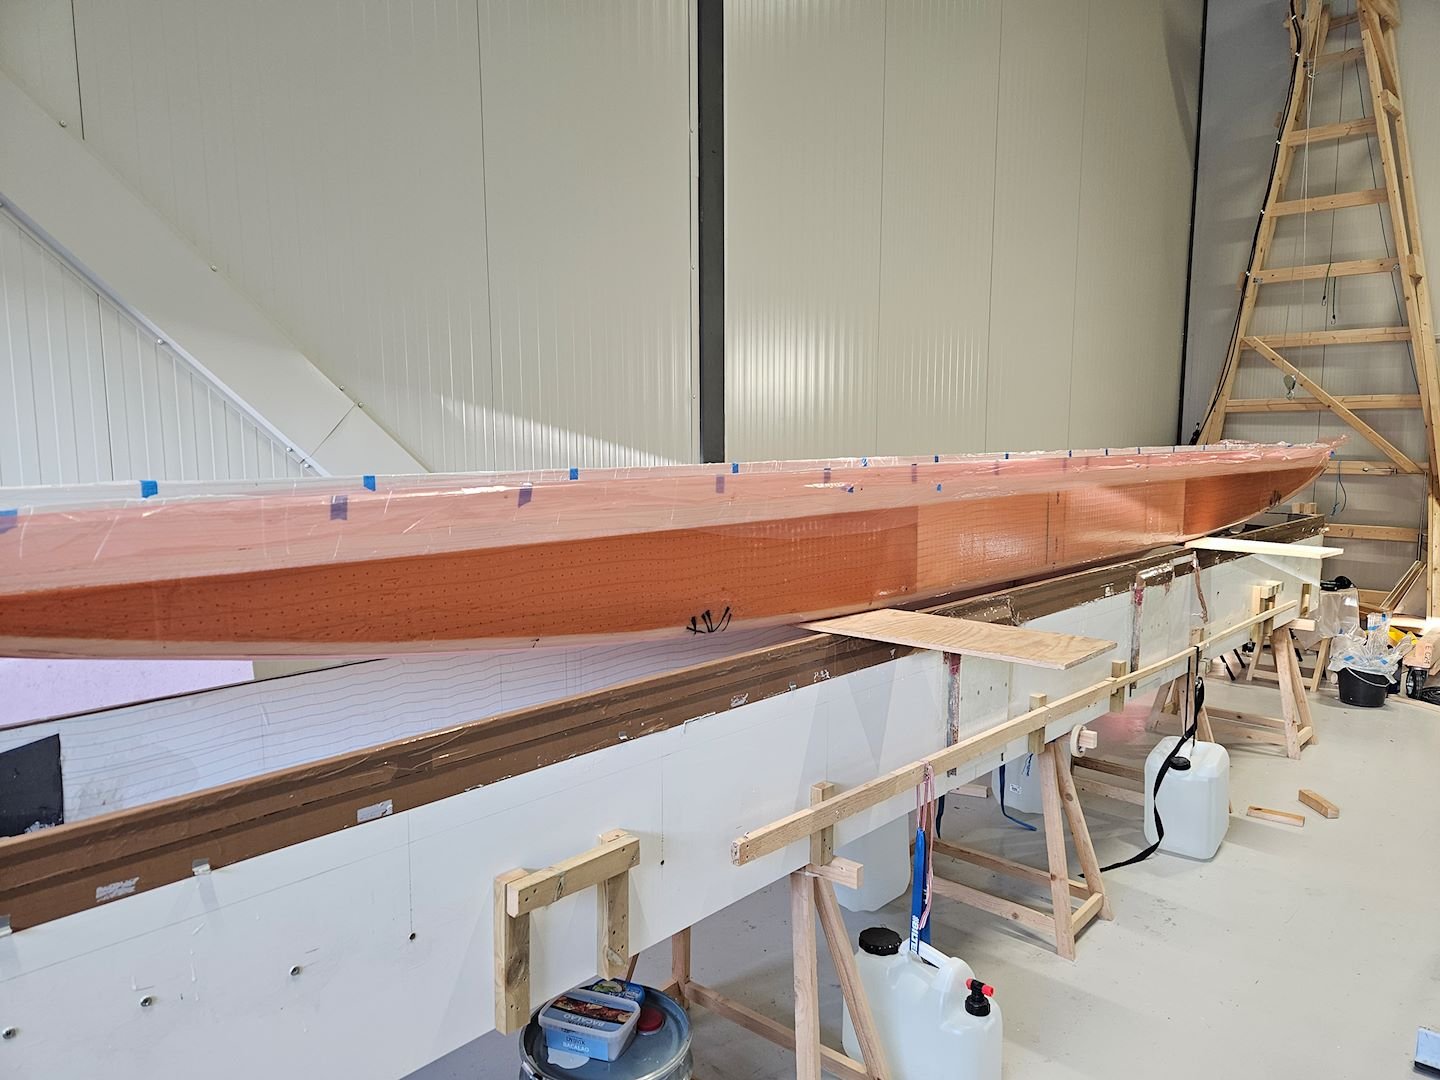
Plans include the latest Intelligent Infusion instructions, plus the structural drawings and dimensions to apply them to the construction of the hulls, beams, bridge deck, rig and rudders, and a basic harryproa standard interior.

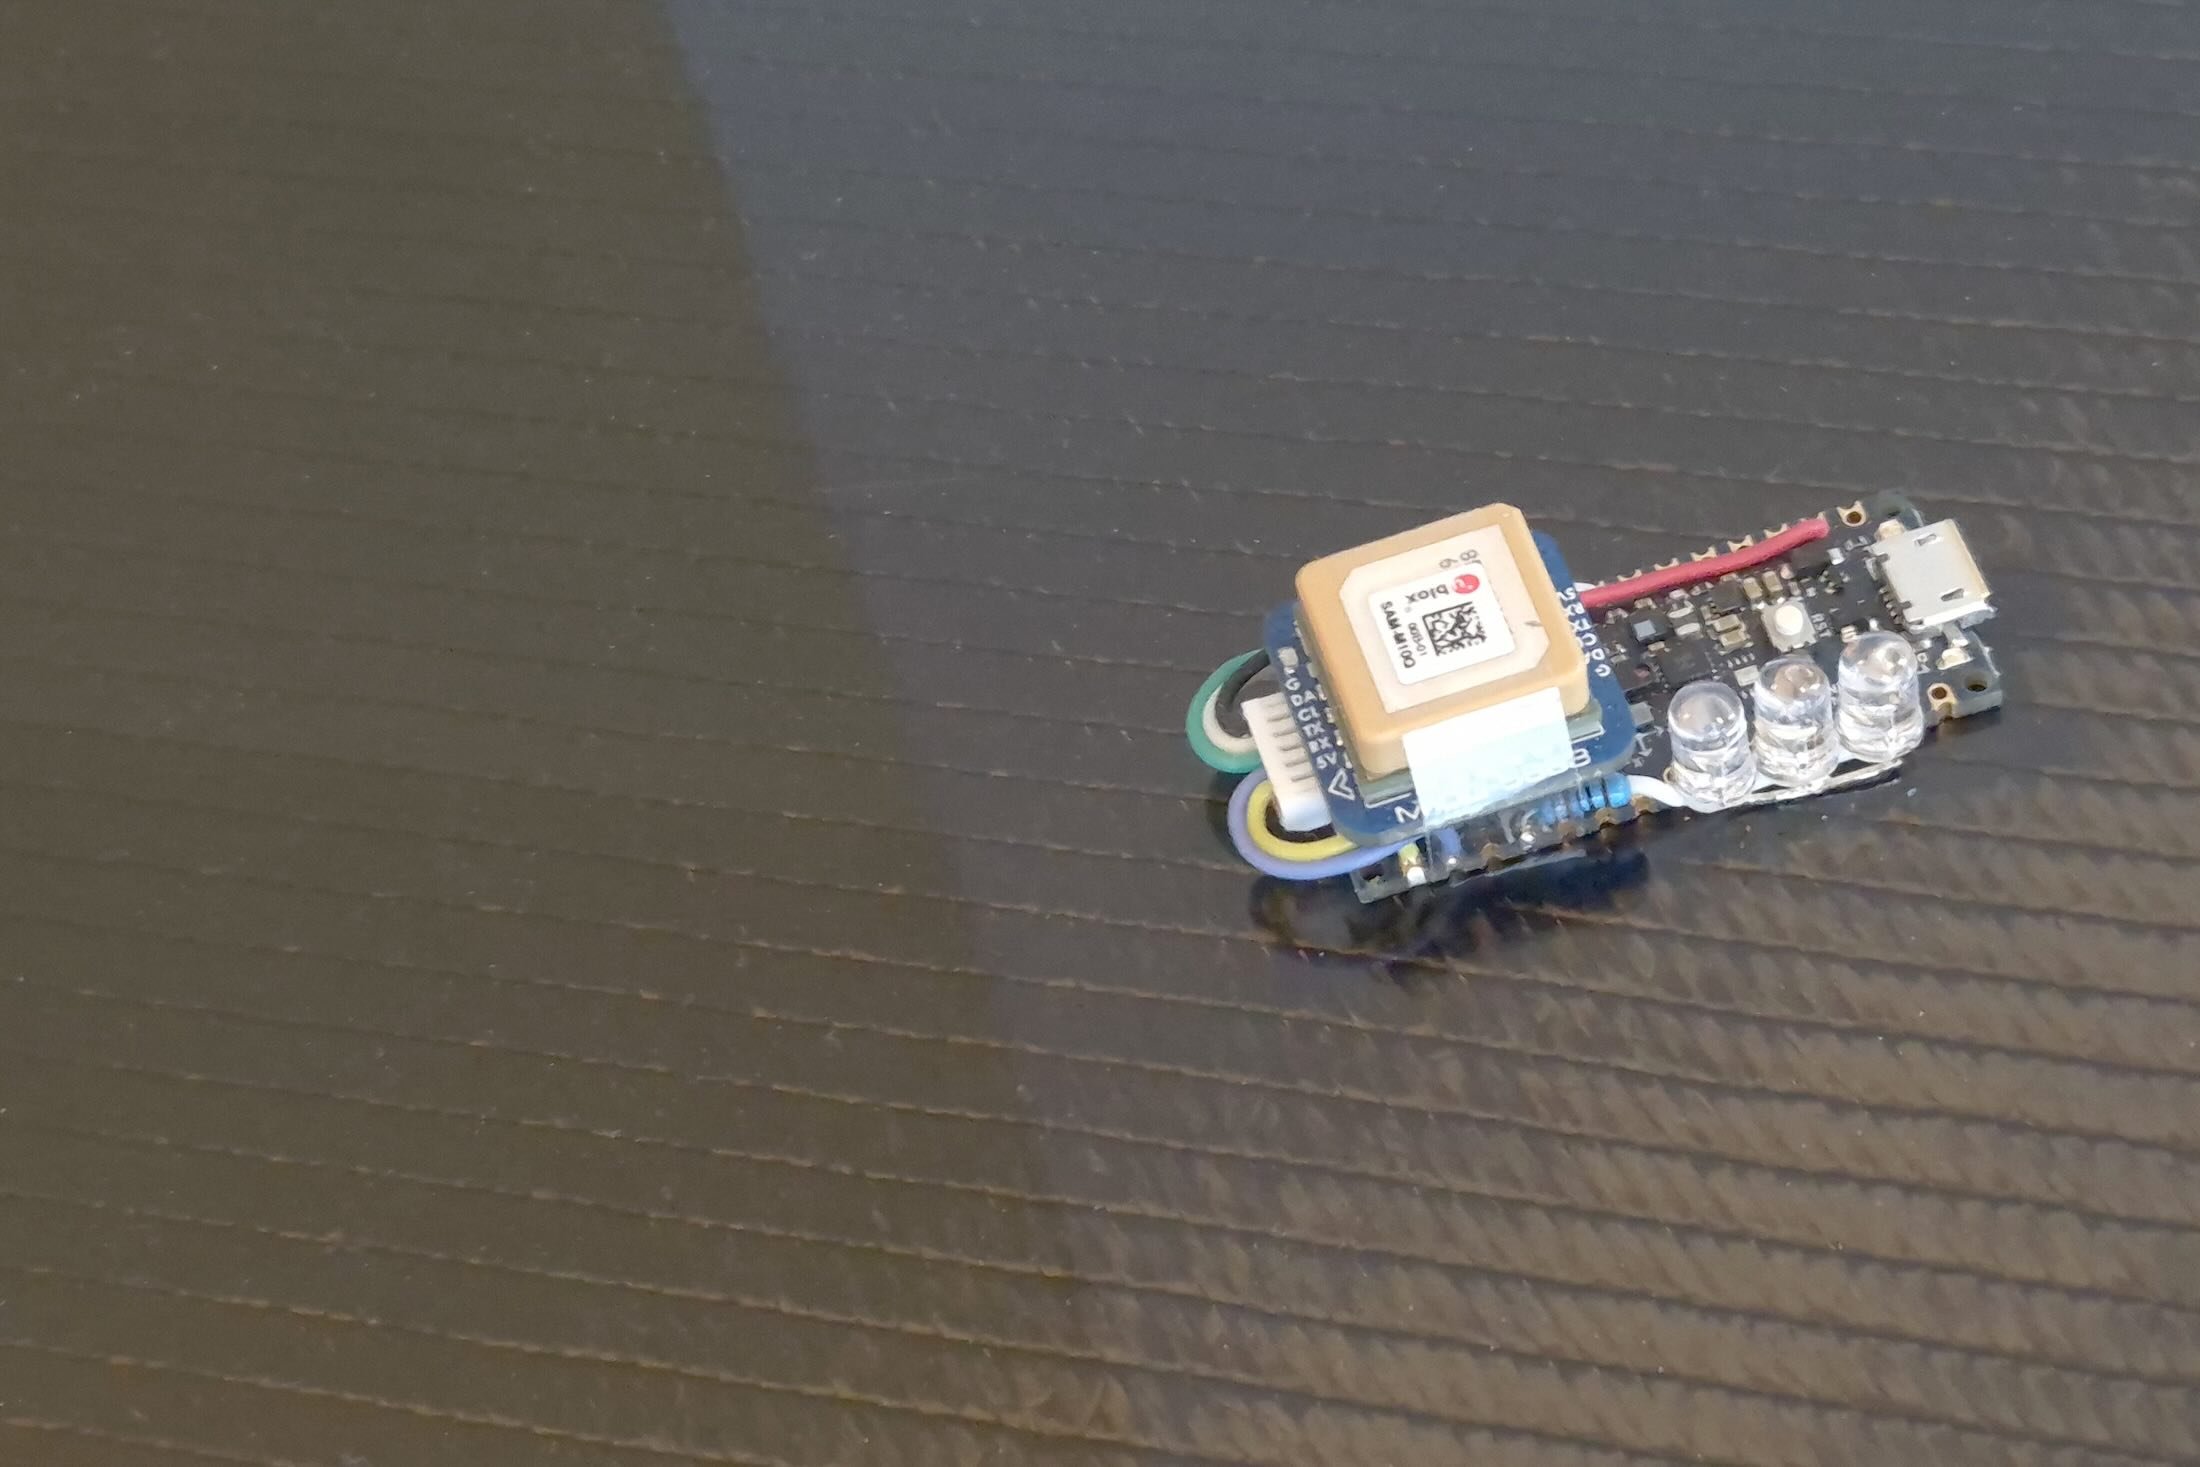
Tech Guides
Harryproa chat group
The harryproa chat group is open to everyone with an interest in the Harryproas, sailing, boat building or proas generally. Input and questions are welcomed from everybody, regardless of their expertise or knowledge level. The chat group has been active for 15+ years in various forms. For those interested in the history, it is archived here.


